Once I finished my walk cycle I moved on to creating the lighting for the animation, but one thing I needed to check on before this was the curve editor and using it to make sure my animation had a smooth flow to it.
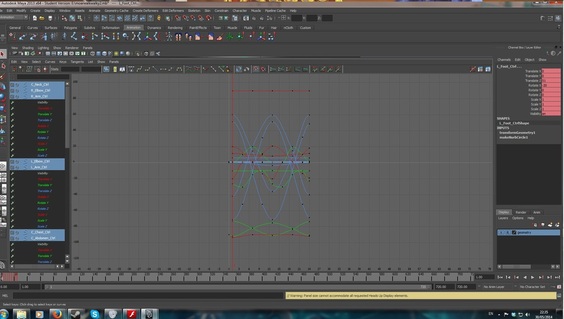
These were the curves I had in my curve editor, there were very few changes I needed to make as most of the curves were already had a smooth flow to them through out the walk cycle
While using the curve editor I had to also ensure that my animation would run for the needed 720 frames for the 30 second animation running at 24fps. To do this I would go to the curve editors curve>post infinity>cycle, this made sure that my walk cycle would run for as long as I needed it for. One massive problem I had was that one of the arms sped up and eventually overtook the other arm during the animation cycle.
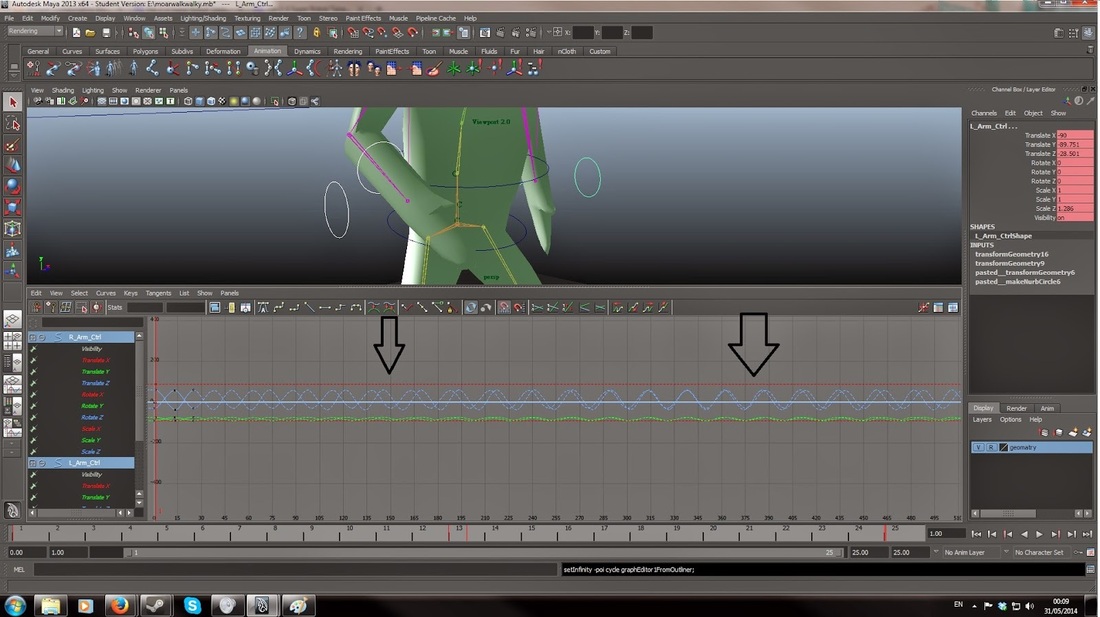
As you can see the curves for one of the arms eventually catches up and overtakes the other arms (blue curves)
After a great deal of frustration I eventually noticed that the key frames for one of the arms was set on zero instead of one, this slight error during setting key frames caused a great deal of headache later down the line.
After a great deal of frustration I eventually noticed that the key frames for one of the arms was set on zero instead of one, this slight error during setting key frames caused a great deal of headache later down the line.
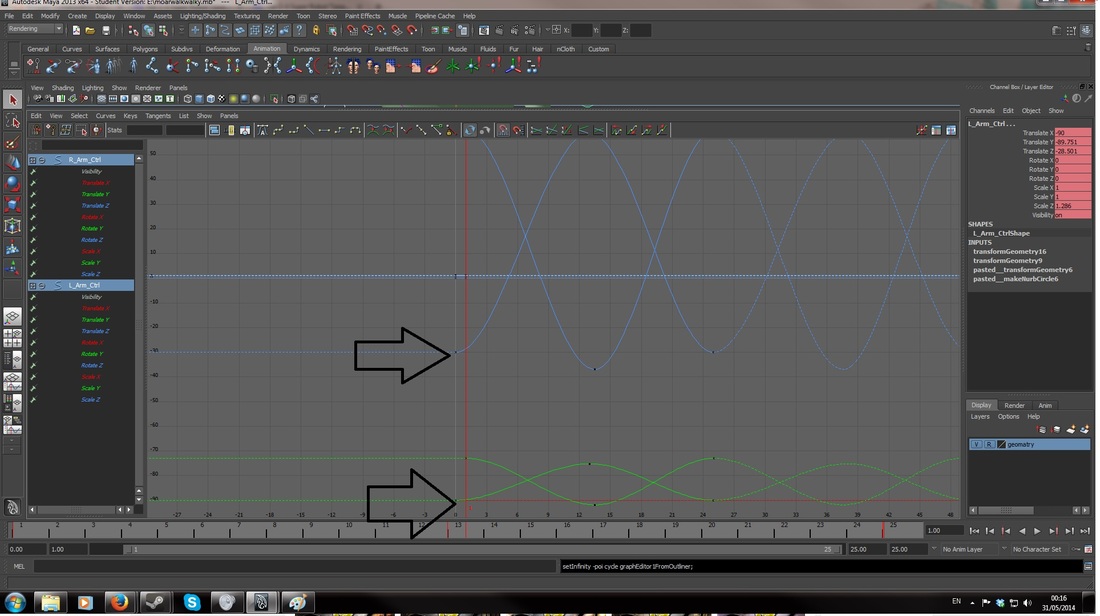
These were the two key frames I had accidently set on frame zero instead of one which caused a huge headache when using the post infinity tool
When I finally noticed these two slight mistakes and corrected them the walk cycle was finally correct for the full 30 second duration. This error has taught me to always check the frames that I have set key frames on before they cause problems later on.
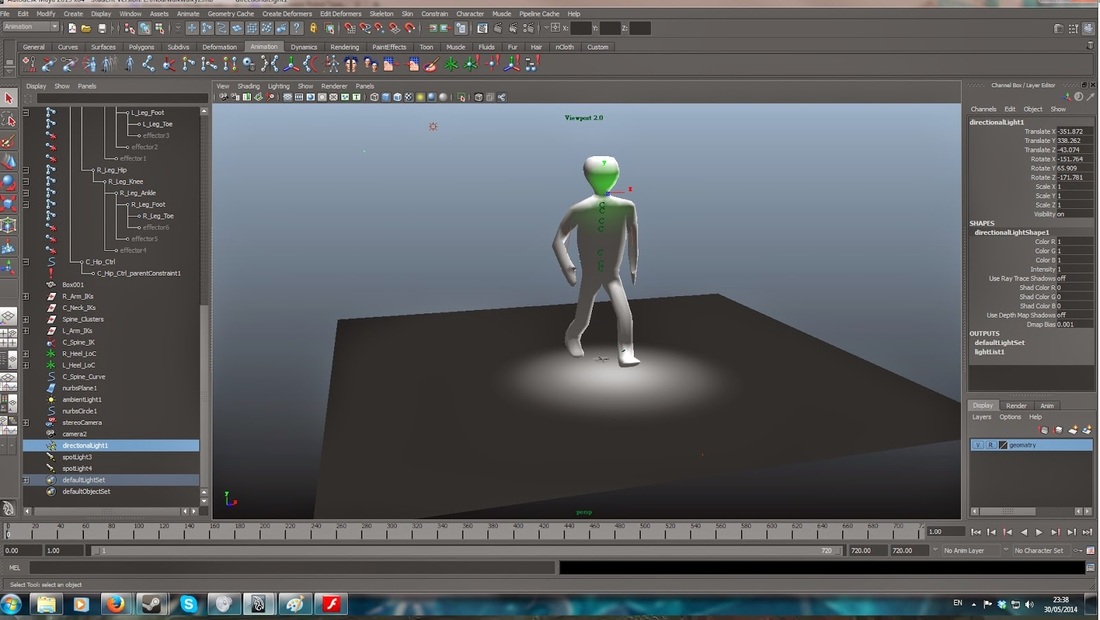
Once I finished that I moved on to creating some lights for my walk cycle ready to be rendered in After Effects. The first light I made was a very dim directional light coming from behind my model to give off a dim moonlight feel in the animation, before adding spotlights for helicopter searchlight look. The last light I added to the model was another spotlight but this time I pointed it at the models head and flickered it between different colours to give the model a other worldly feel as he walks in the moonlight.
When I finally noticed these two slight mistakes and corrected them the walk cycle was finally correct for the full 30 second duration. This error has taught me to always check the frames that I have set key frames on before they cause problems later on.
Once I finished that I moved on to creating some lights for my walk cycle ready to be rendered in After Effects. The first light I made was a very dim directional light coming from behind my model to give off a dim moonlight feel in the animation, before adding spotlights for helicopter searchlight look. The last light I added to the model was another spotlight but this time I pointed it at the models head and flickered it between different colours to give the model a other worldly feel as he walks in the moonlight.
 RSS Feed
