Now that I have gotten my final ideas for assets and backgrounds completed, the next stage of the process is to begin creating the assets and images that I will use in the final game. But firstly I needed to set up a suitable work space to begin working in.
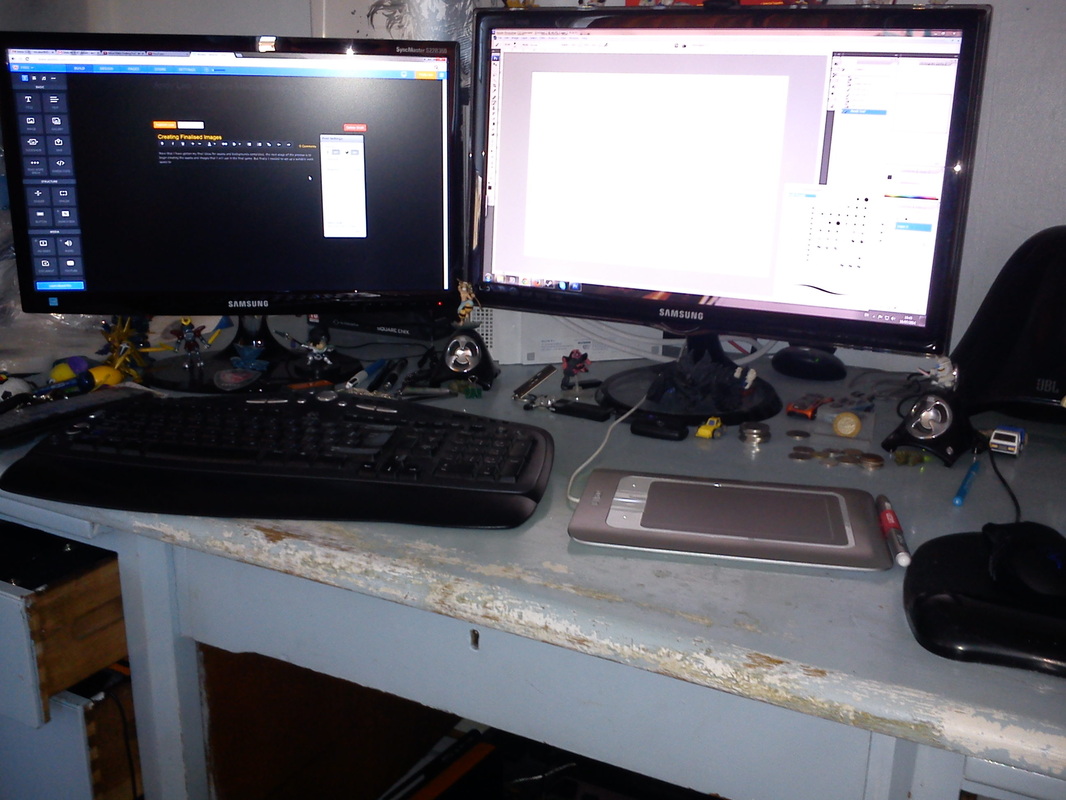
This is my work space, I placed my tablet between my keyboard and mouse because I am right handed meaning it will allow me to use software while still be able to use shortcuts via the keyboard i.e Ctrl+Alt+Z to undo any mistakes in PhotoShop is primary shortcut I would be using. I use two monitors to ensure I can continuously update my blog during work on the final images and for any reference material I am using. Due to using two monitors I have locked my tablet to the use of the monitor on the right meaning I've kept my mouse close in case I need to change reference or update my blog as I work. I also use a wireless keyboard instead of wired to allow for more movement in my keyboard during work to not limit my desk space during work and potentially removing it completely in the case of doing hand drawn work.
Now that I have set up my work space for creating the final images I will walk-through the creation of one of my final pieces using PhotoShop.
Now that I have set up my work space for creating the final images I will walk-through the creation of one of my final pieces using PhotoShop.
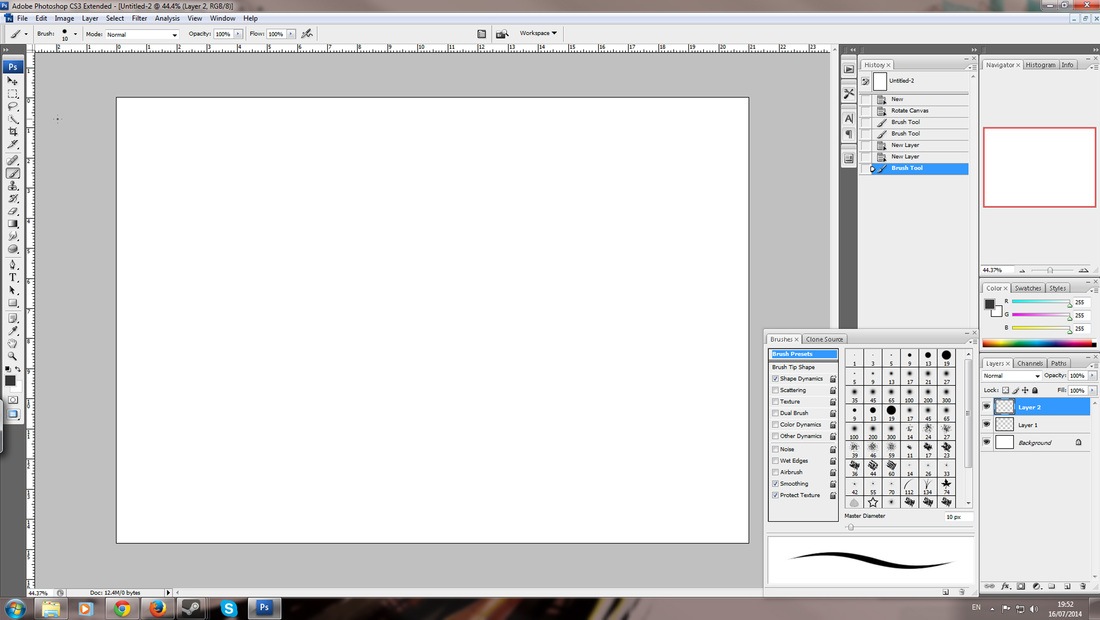
After setting up my physical work space, I needed to set up my digital work space to ensure work will be completed by the deadline. All I did was hit F5 to bring up the brush menu and place it in the corner, this will allow me to quickly switch between brushes during work. Next was to open up a new file in Photoshop and rotate it landscape. Now that all the setup is completed I can begin the creation of a final image. While creatng these final images I will be creating a new layer for all the different parts of the image such as the foreground and background.
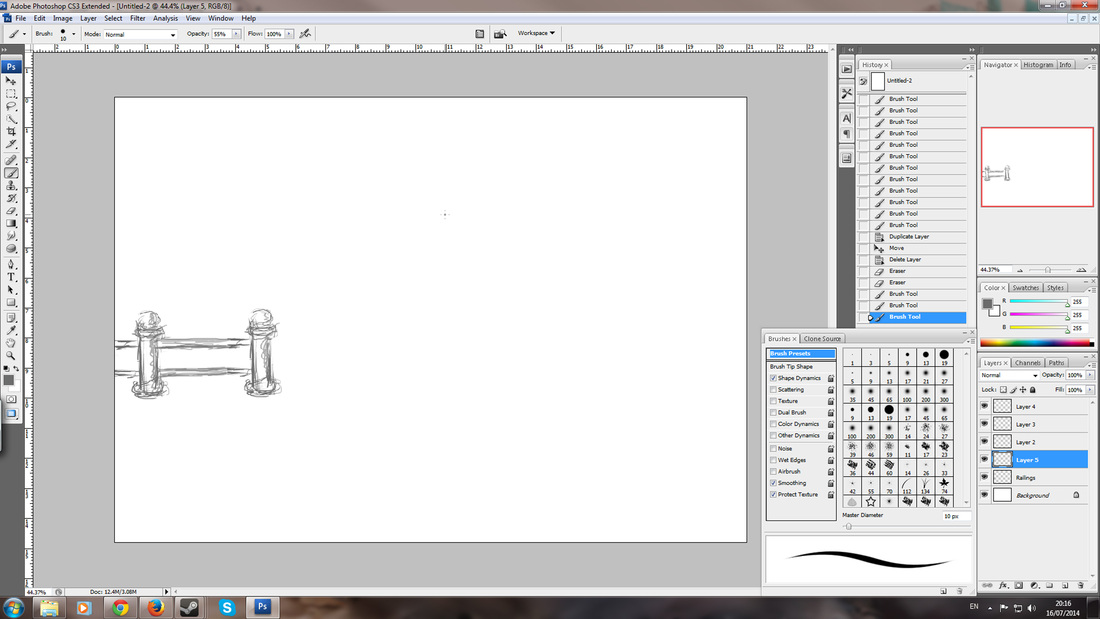
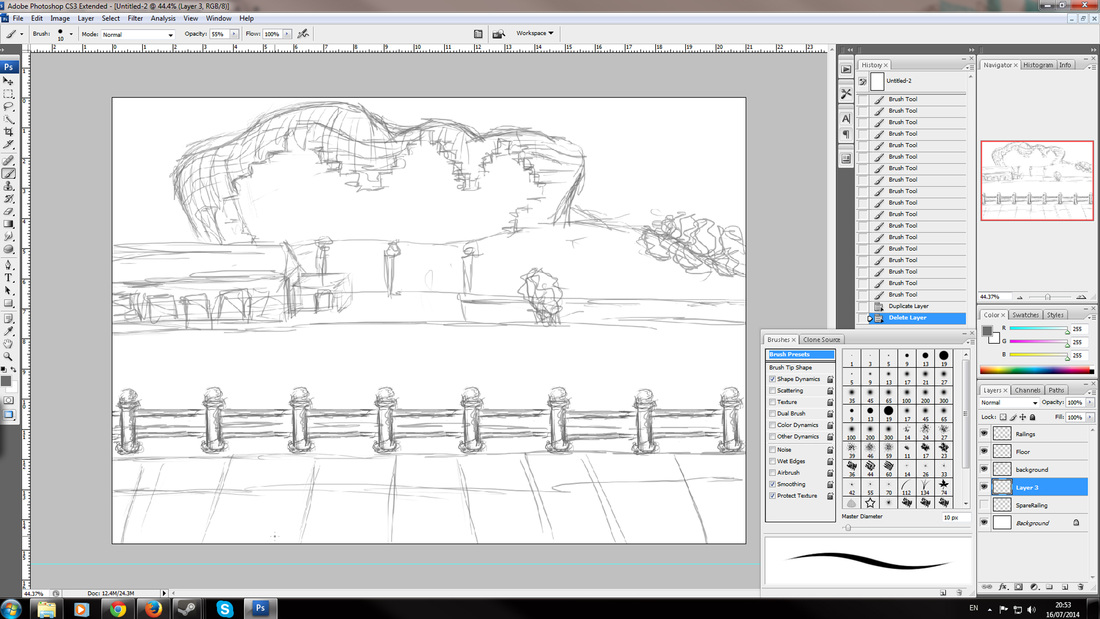
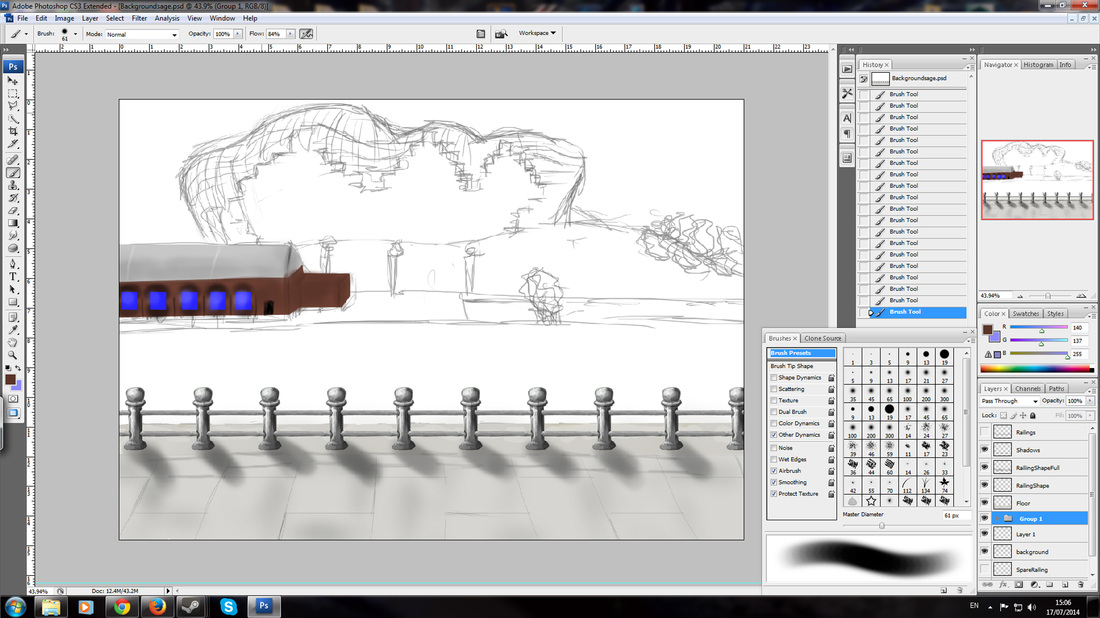
Starting off my final image I used a fairly hard brush (90%), hardness is how defined the edges are 100% means a solid edge while 0% will give a faded out look, to start to layout the rough places of were I wanted to place my background. I created these two railings first as I could just replicate them along the Quayside. I started with these railings first was because they run all along the Quayside meaning I can use the same set of railings along the quayside as the background changed. One problem I see at this point is that I need to edit the size of them as they seem too big.
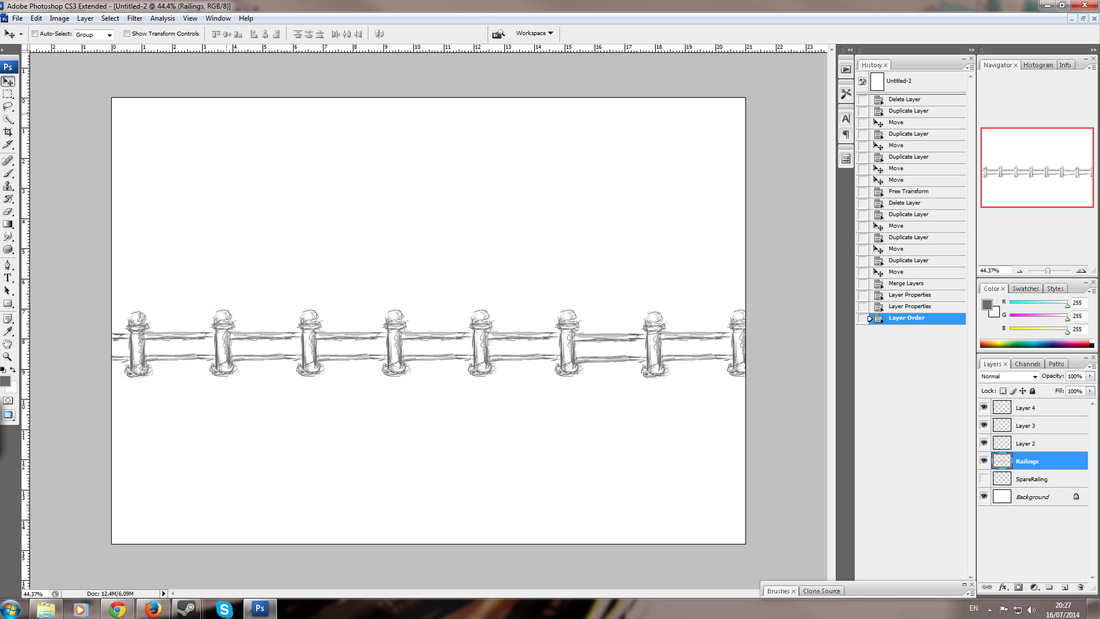
After re-sizing the original set of railings all I needed to do was to duplicate the layer which contained the the railing, which I named "Railings". By following a naming convention for my layers it allows me to easily find the correct layer I need to edit which can help speed up the process.
Afterwards I changed my brush to a fairly soft brush (35%) and lowered the opacity, this means the brush won't be creating a solid line when used and will be partially see through to allow a rough, sketchy type of drawing to be created. Witch this brush I sketched out a basic background view of across the Quayside. By using this lowered opacity brush it has allowed me to create the background as if it was off in the distance due to its slightly faded look. During this process I did not pay much attention to detail but just sketched out a rough outline of builds and any bushes. This rough sketch took me approximately half an hour to create and it will be the foundation for creating the complete image.
Once the rough sketch was completed it was time to create a more finalised version using it as a base. Again with starting with the railings I used my sketch as a rough layout, along with the pen tool to create a solid shape to begin working with, The pen tool allows users to create solid shapes using anchors to edit the way the way the next line bends allow for smooth shapes to be created with ease. I used this tool in conjunction with altering the opacity and hardness of my brush to create a railing.
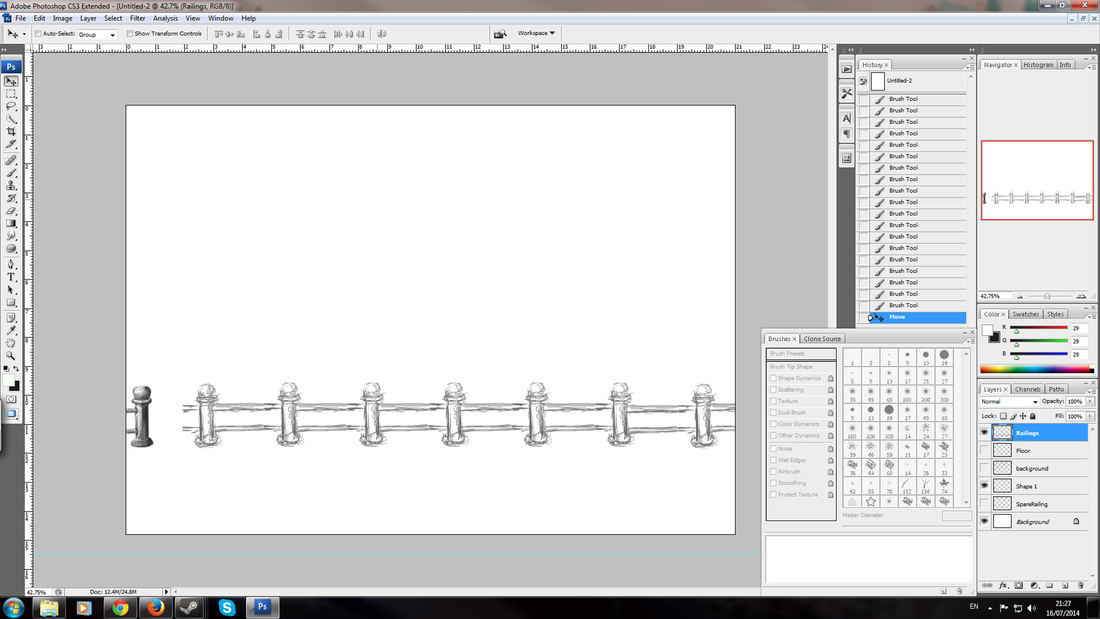
Using the same technique to replicate my sketched railings I did the same with these and here is the result As you can see near the bottom I also used a ruler, pulled out from the ruler at the top, to allow me to create straight lines during my work.
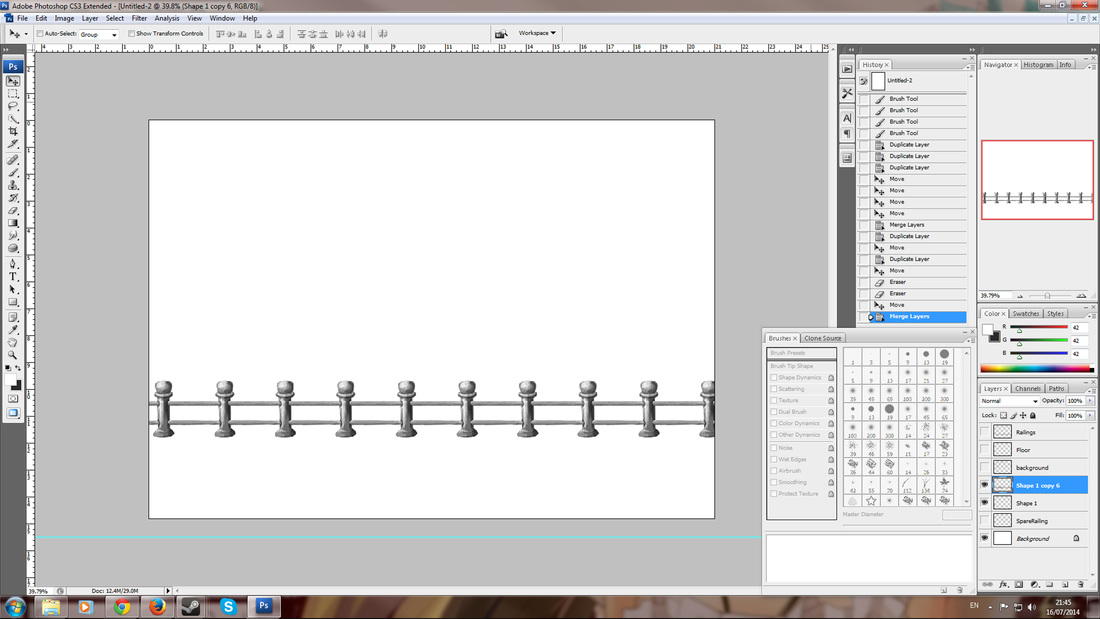
Next part was to fill in the floor of the image. To create this part of the image I used the "Polygon Lasso Tool" which I used to select the area where the floor is to limited the use of my brush to that area. By doing that it allows me to use a big sized brush but only painting in the area I selected allowing me to paint in the floor without affecting other areas of the image. After that I lowered the size of the brush to create some shadowed areas by lowering the opacity and hardness pretty down to 10-20%. Here's the outcome.
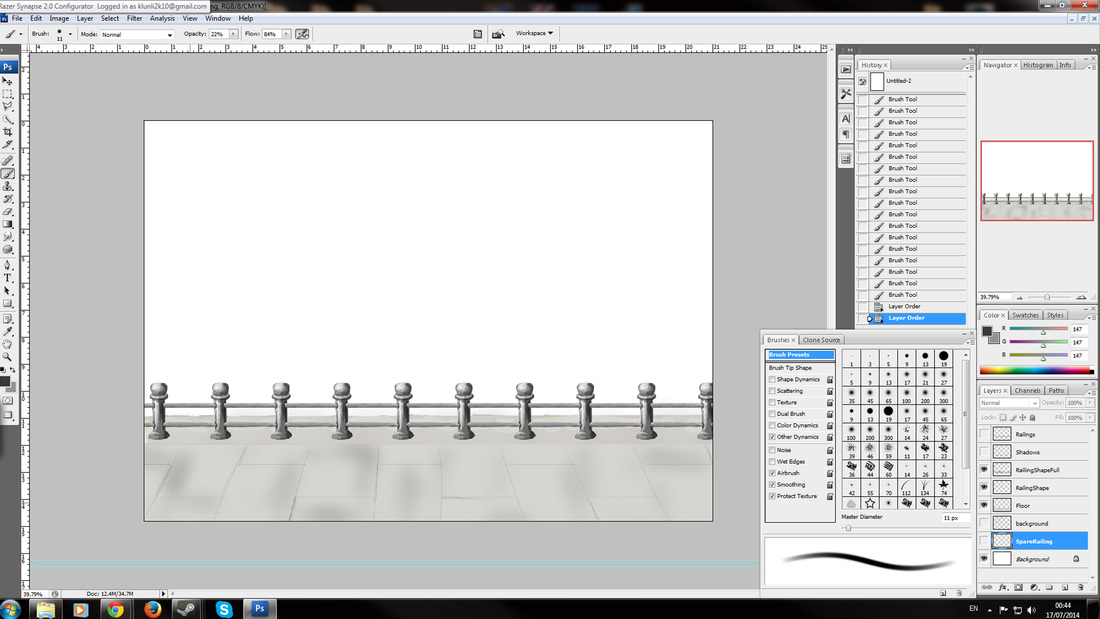
The next part of this image that we wil be adding is the one of the buildings into the background. I did this the same way I created the railingsL by using the pen tool to create the basic shape before filling in the lighting and shadows. Problems I had was it would be my first time using this technque with colour, which meant that the outcome was not what I planned, this is something I will need more pratice on before I can perfect it.I also quickly took a low opacity and hardness brush to add in some quick shadows for the railing.
Continuing I then filled in the sage and the hill using the same technique.
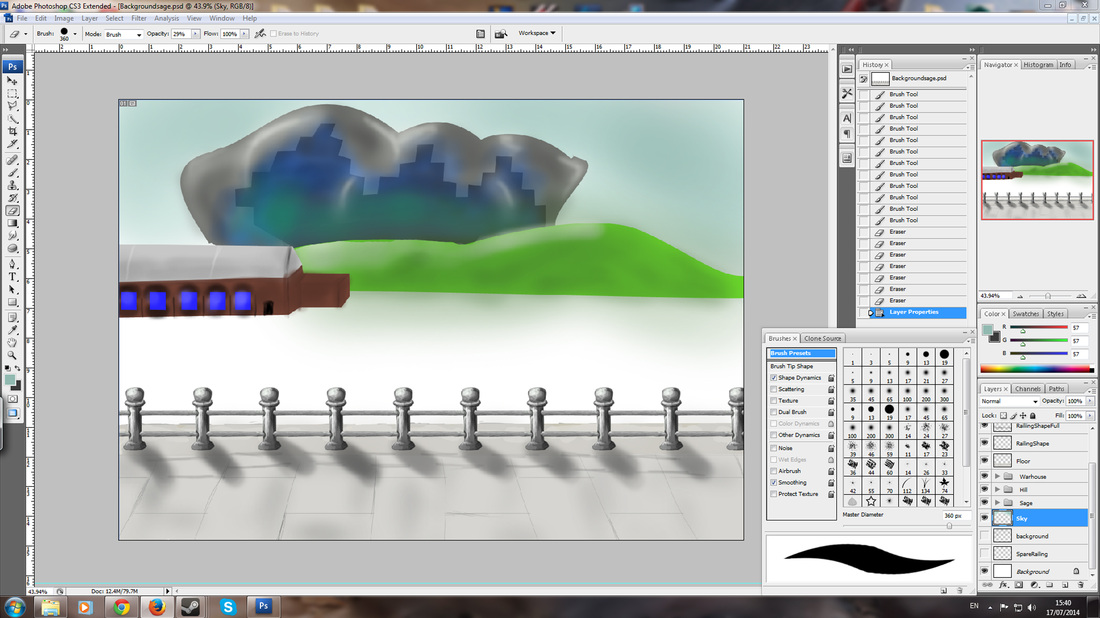
Finally filling in the pier and the river.

This is how will be creating my other finalised images, although I will not go through thier creation in as much depth as this one.
 RSS Feed
