As part this unit we are tasked to create an organic character as part of a team. Once we were designated into our groups the first task was to allocate roles within the team. As I was absent for this session, I was later brought up to speed and was left with the role of the rigger.
Afterwards the first task we needed to do was to decide on what type of character to create. We started off by simply discussing our options for different types of characters. We then collated our thoughts onto a padlet page provided by our lecturer: http://padlet.com/kafui/grp1
During the brainstorming session I created some moodboards involving different types of rigs for a range of characters. This helped us visualize the potential complexity of the rig we would need to create for the character.
After the brainstorming session we decided that we would create an owl. We ended up at this conclusion as this type of character would prove to be an easy inclusion into all of our trailers and would prove to be a challenge for each member.
Once we decided I moved onto creating the rig. As I had no experience creating a rig for a bird I first conducted some research on bird rigs. I got some basic pictures and eventually found a video which are all on padlet.
Afterwards I started work on the rig of the bird, creating the joints was fairly straight forward. Using side and front views I laid out the plan for the rig:
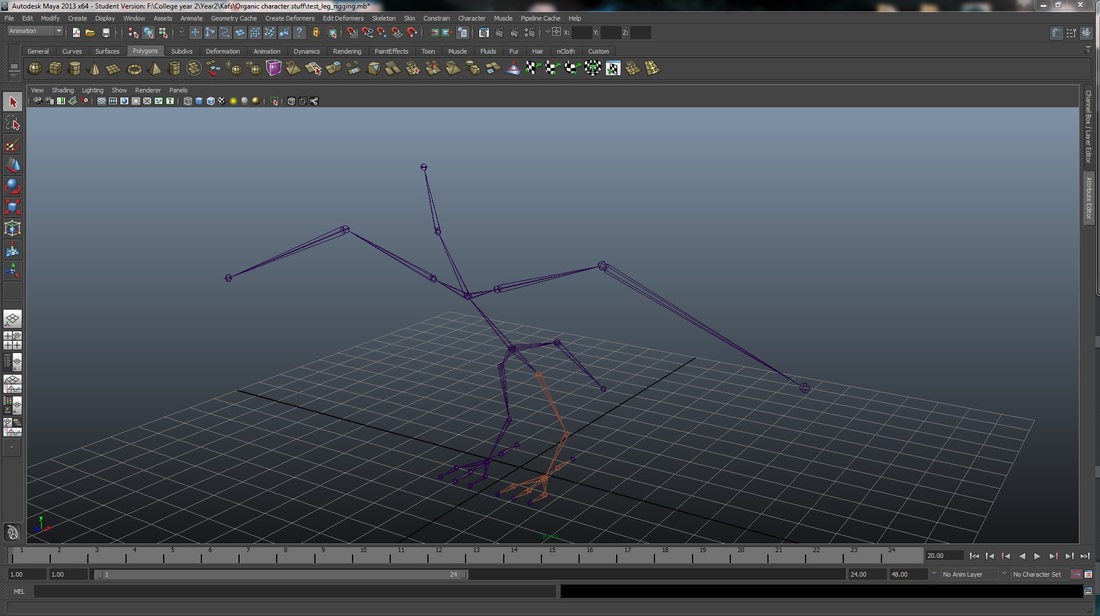
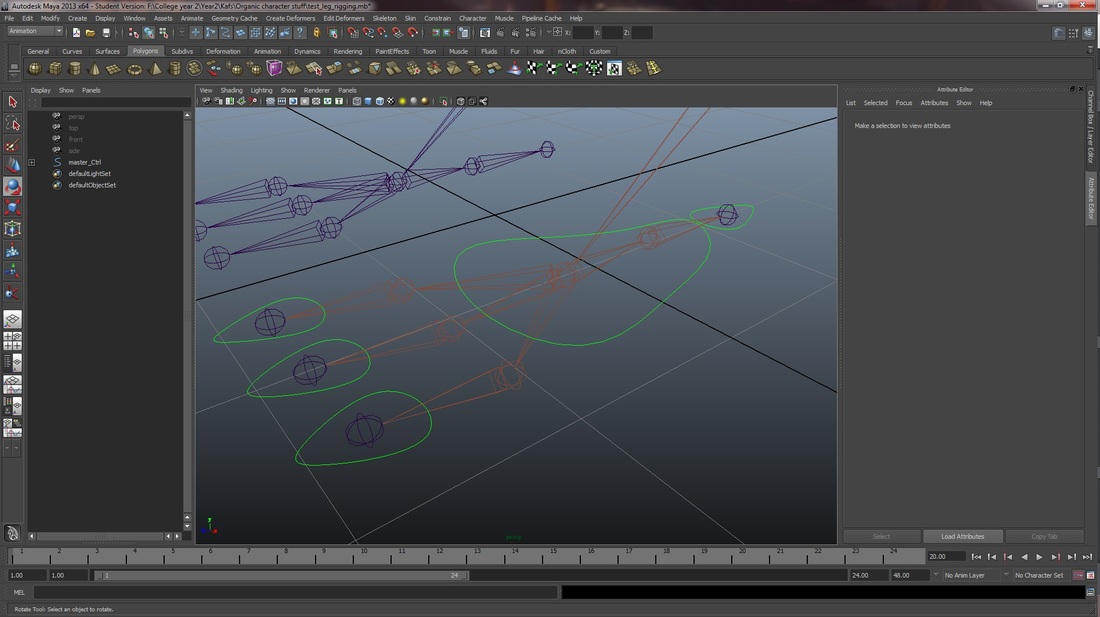
The next stage was adding IK handles to the joints. I decided to start from the foot as I felt the foot would prove to be the most complex to rig.
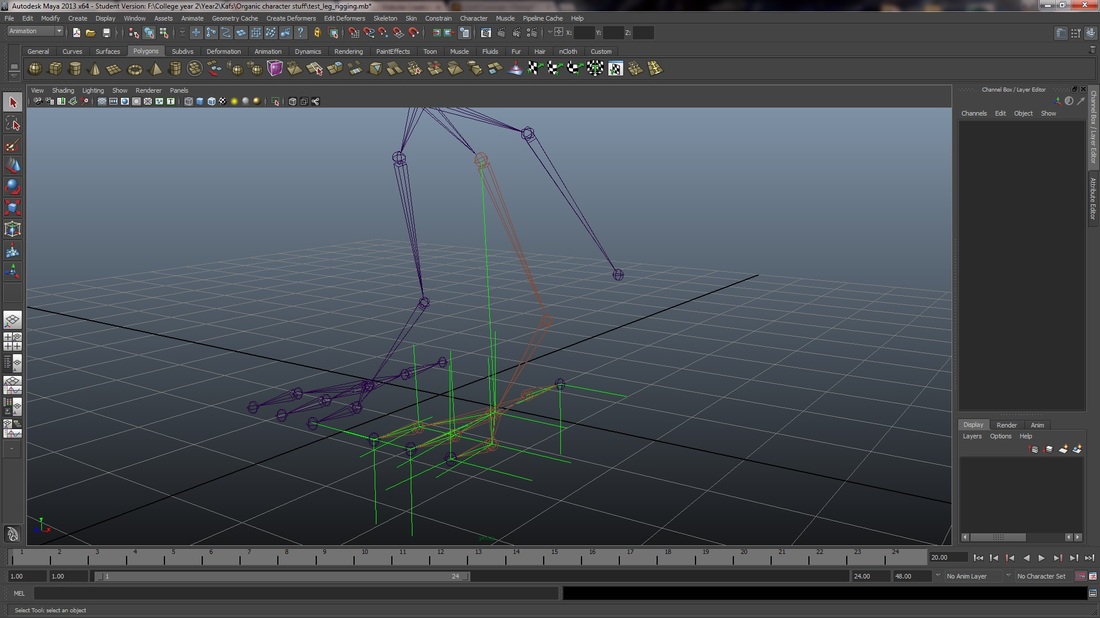
First off I created the IK handle from the hip to the ankle. For this I used Rotate Plane Solver (RPsolver) as this allows reverse joint to function properly. For the rest of the joints in the foot a simple Single Chain (SCsolver) for the rest of the joints in the foot. This is how the IKs were set out:
First off I created the IK handle from the hip to the ankle. For this I used Rotate Plane Solver (RPsolver) as this allows reverse joint to function properly. For the rest of the joints in the foot a simple Single Chain (SCsolver) for the rest of the joints in the foot. This is how the IKs were set out:
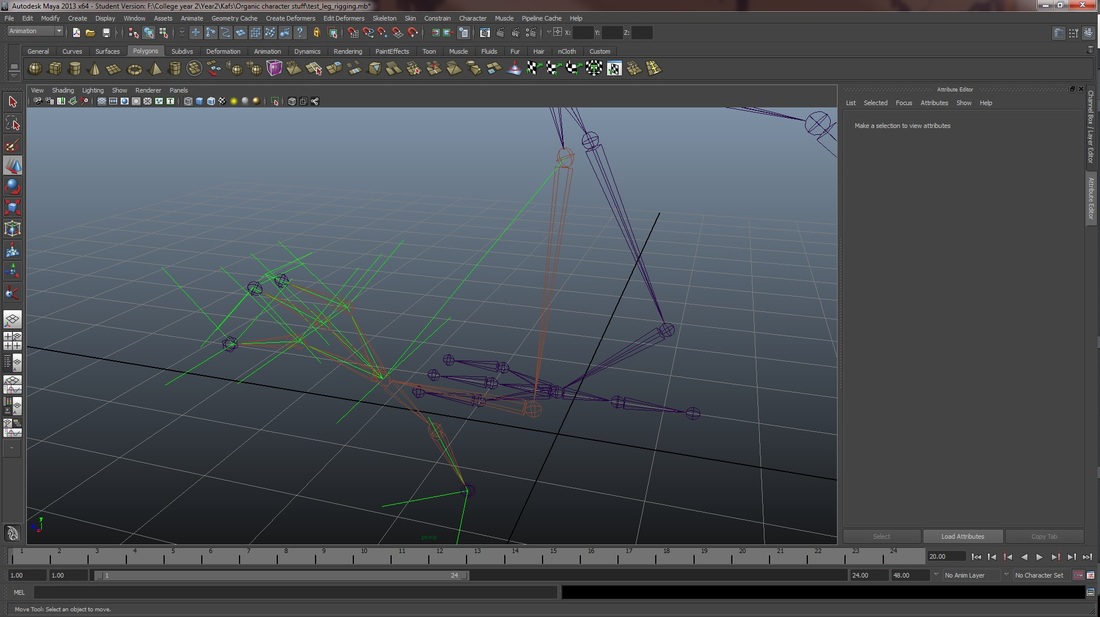
By creating these IK handles it provides a range of movement to the foot:
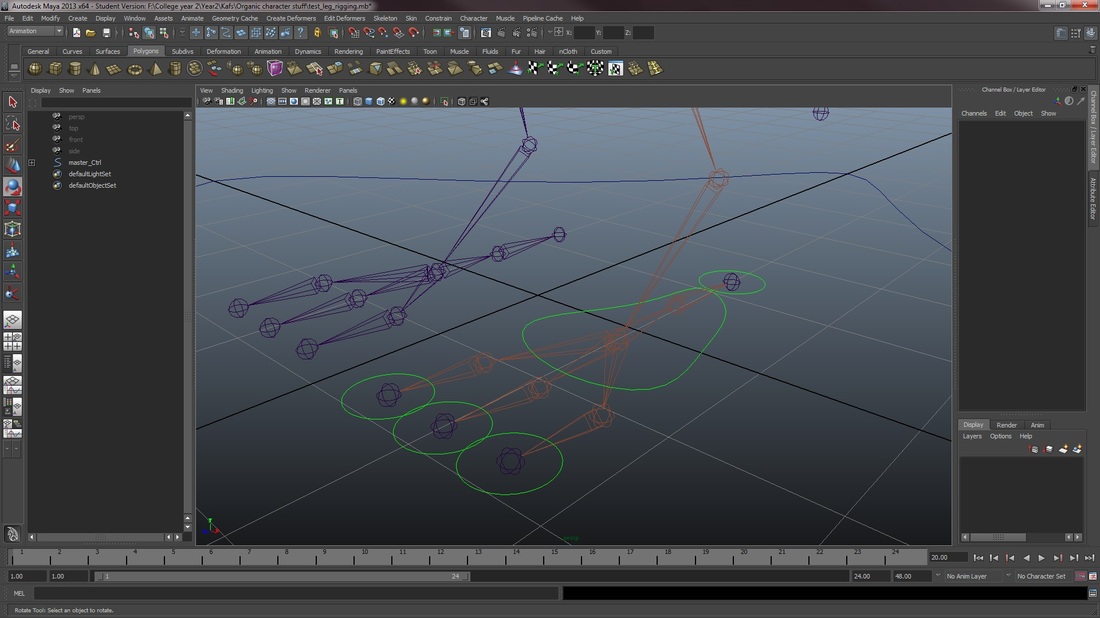
The next stage is to create controls for these IK handles. For the controls we use nurbs circles. When creating controls we were taught to shape the controls into pictograms so as the rig was used by others they could easily recognize what the control did. While doing this I also decided to hide the IK handles from view to keep the viewport tidy. Following this philosophy I created my controls:
 |  |
The next stage of the rigging process was to create the wings. For the wings I had to use two IK handles to allow for the full range of movements that a bird's wing would actually allow for. For the first joint I used a rotate plane solver as this was slightly similar to a human elbow and a single chain solver for the tip of the wing.
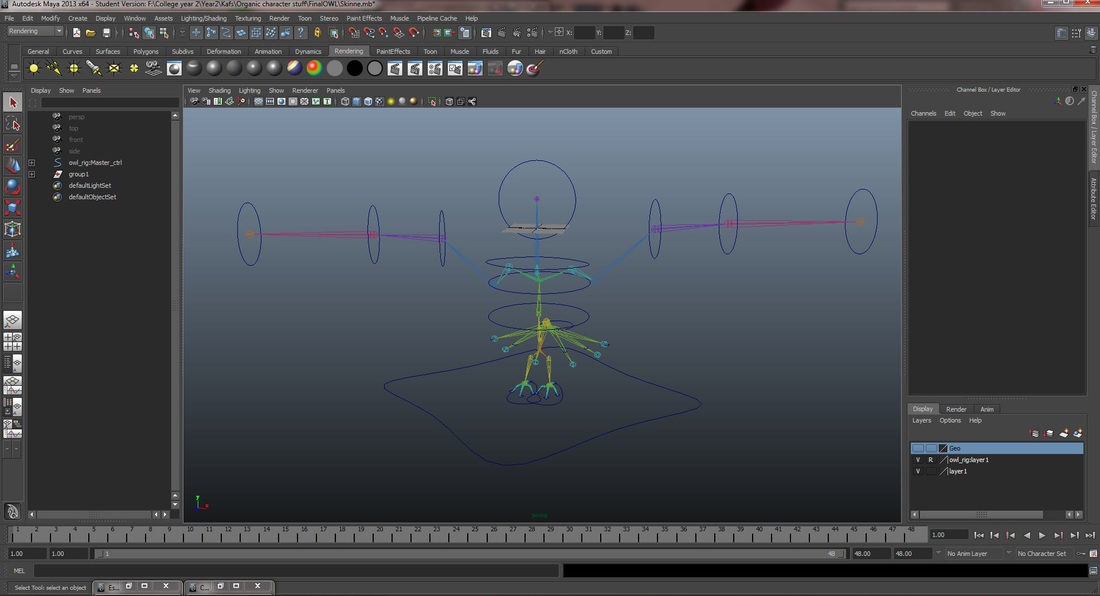
As you can see this set up allows for wings to be able to flap as it should.

One major feature I left out was using the "set driven keys" tool to create the flapping motion. I mainly did not implement it due to not know how to implement it at the time of this rigs creation. As this was creating before my mech rig, I came to understand that "set driven keys" was the tool that would've allowed me to add such a feature to my mech. This would be a obvious improvement to this rig, although due to time constraints, I had to begin to prioritise my work and move onto other important areas such as animating and lighting and render tests for my trailer. If I did get the time I would've surely tried to implement such a feature into this rig.
 RSS Feed
