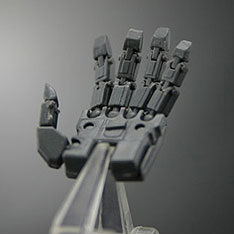
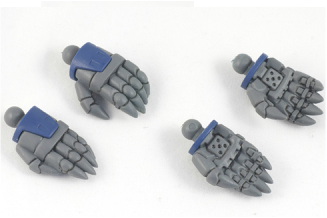
When I started creating the mesh for the environment, I started with the small detail part of the tower just above the door.
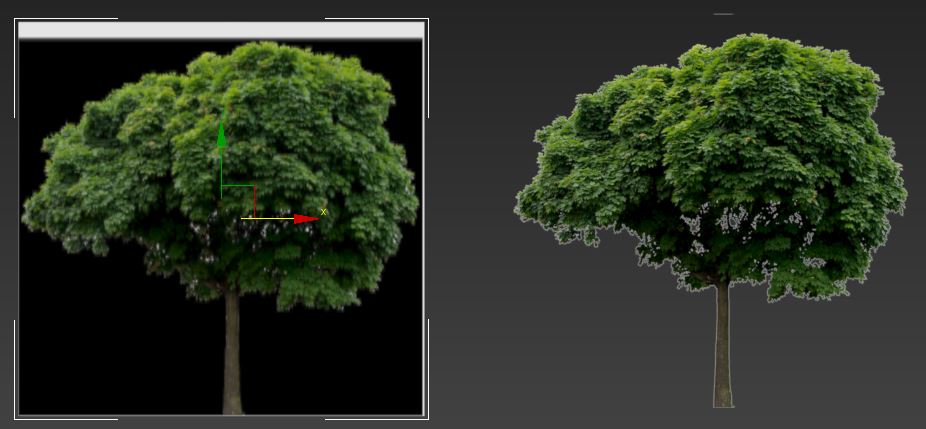
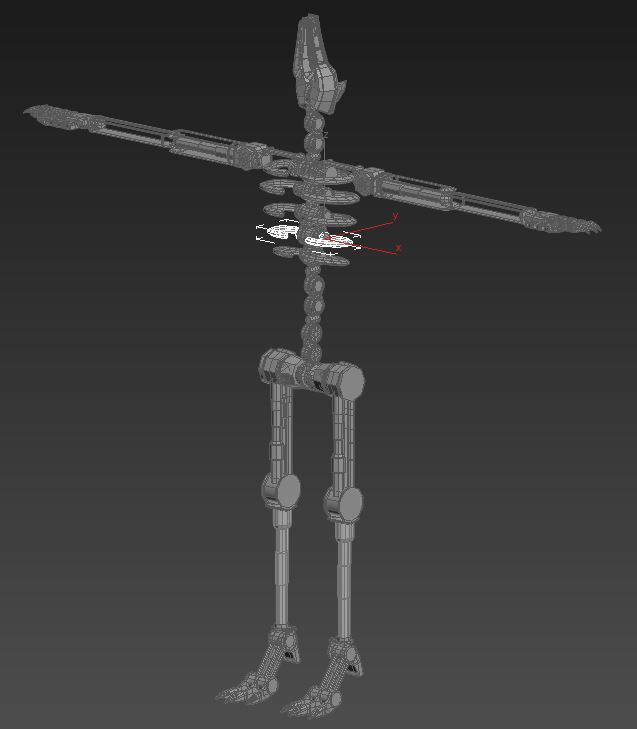
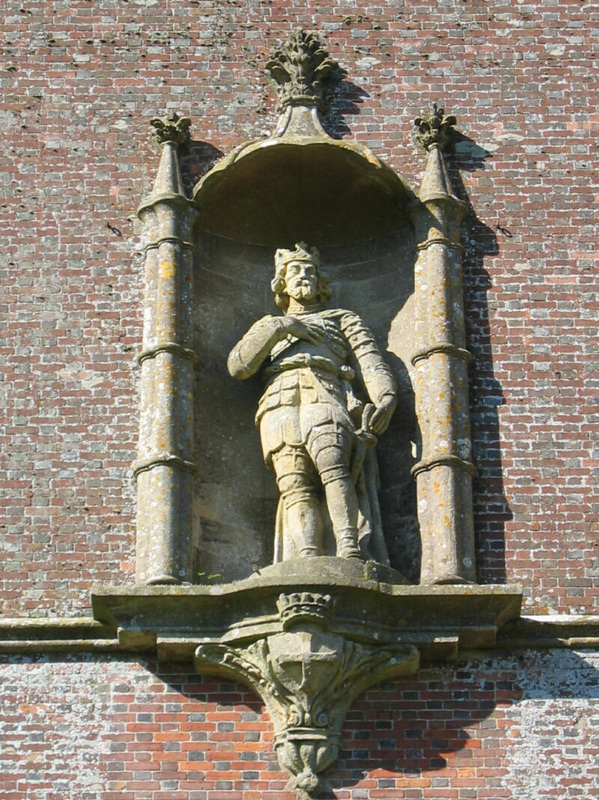 | This was the reference image I used when I was creating this part. From here I split this part into smaller pieces to model which I would later place together to create the complete model. I split it into: two cylindrical parts, back curve, dome top and the bottom part. At this stage in time I left the statue out as I knew it would take a long time to create and was unsure if it would be in the trailer or not. |
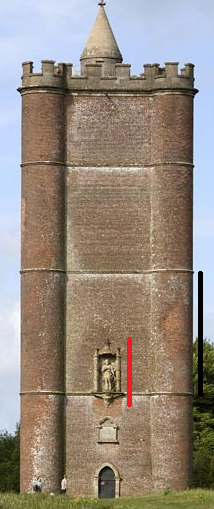
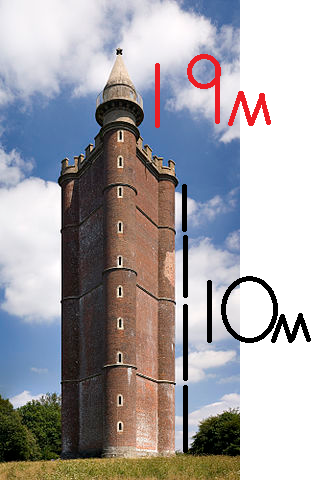
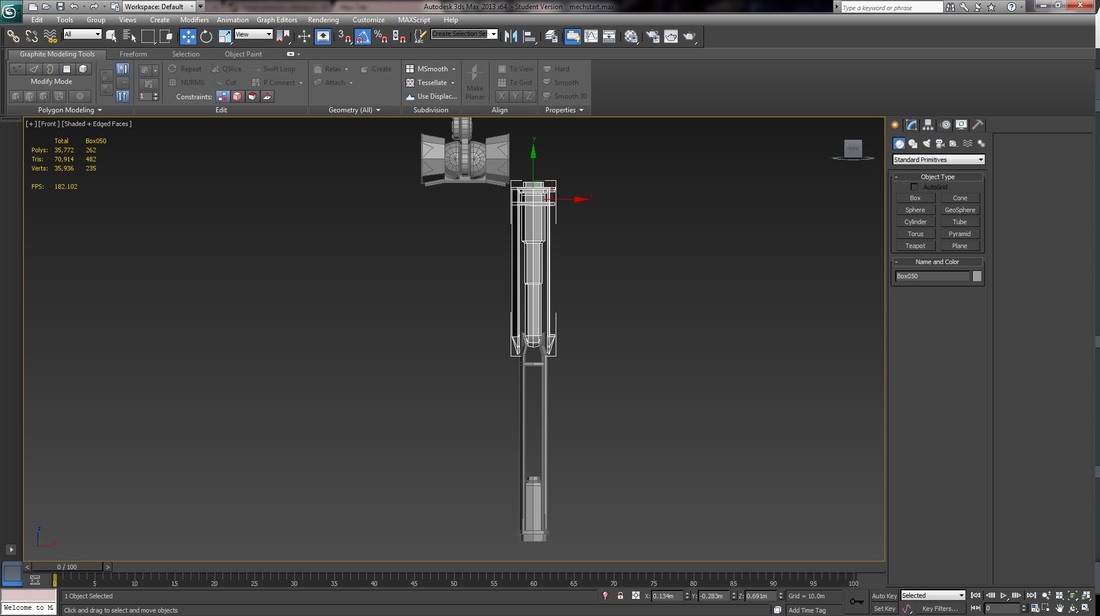
Before I started working on this part of the environment I needed to work out its size relative to the building. I used the image below to create a rough estimate on the size of this part. The black line shows as mentioned before the 10m split on the tower. Using this I made a red line which is roughly half of the black line which goes from the top to the bottom of this part. Using this rough estimate I decided that this part of the tower was 5m tall. To stick to this scale I created a 5m tall box that I kept referring back to during modelling.
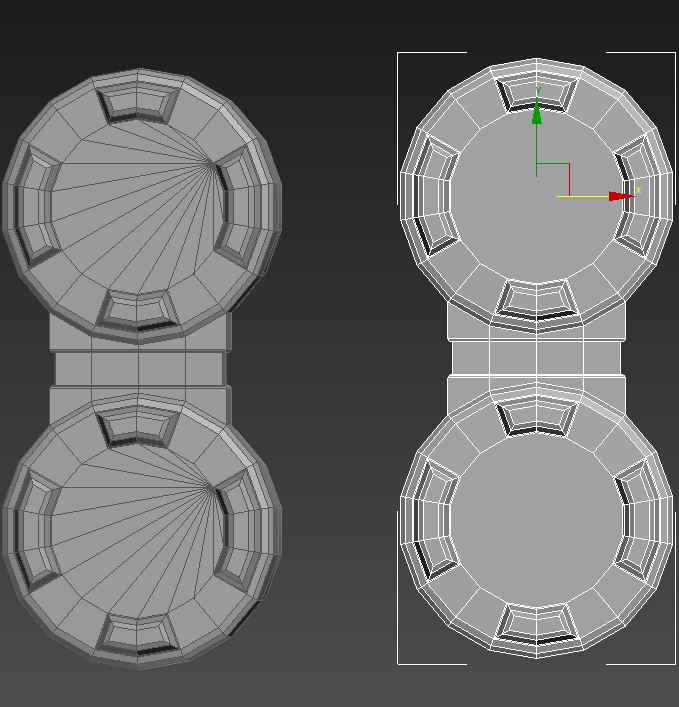
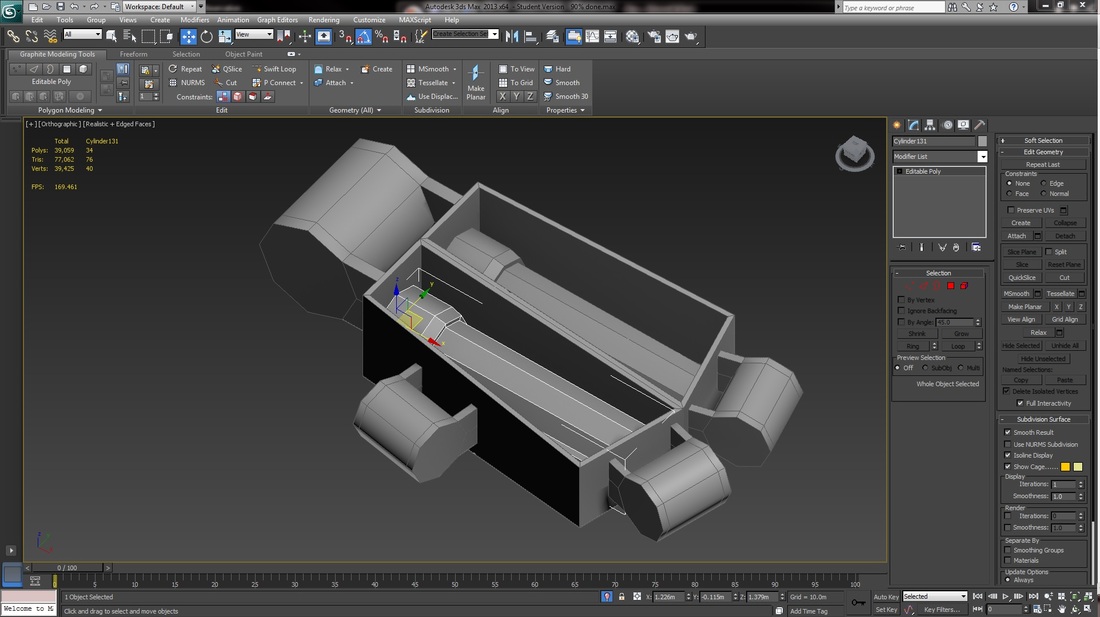
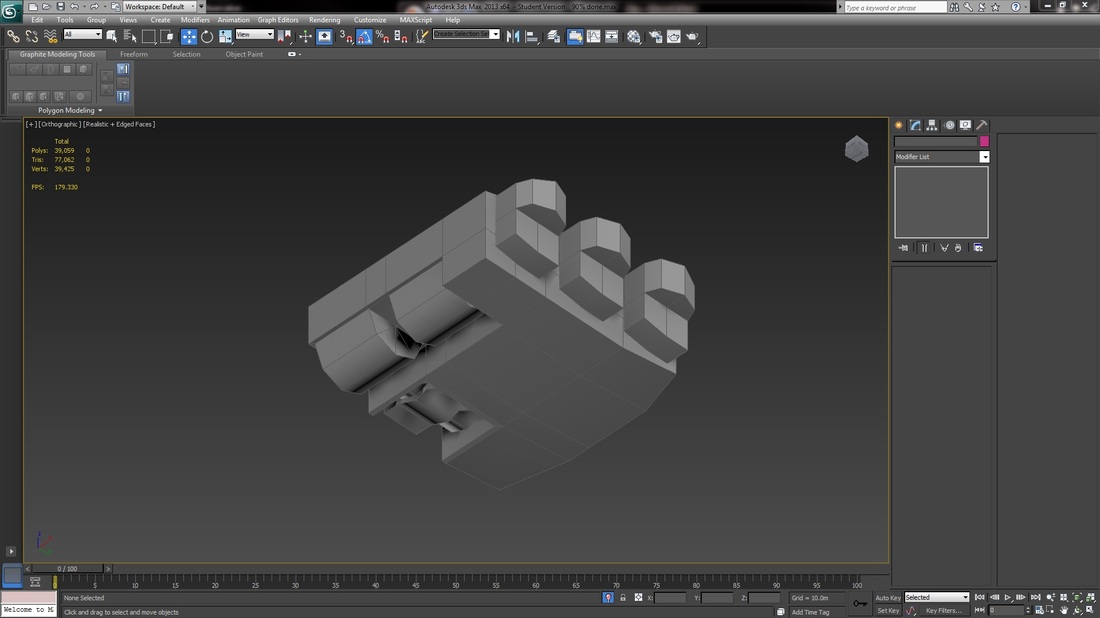
The first part I created was the two cylindrical parts on either side of the detail.
 |  | This was the finished part of the cylinder. I ran into a slight problem when creating this and took long round about method of doing it. At first I took three cylinders and placed them together to create the basic shape I wanted. Afterwards I attached the three parts and slowly cut and welded parts to create this. When I was finished and looked at the mesh from top down I had realised that I could've simply took a box and used the tool "hinge from edge" to create the curved parts. If I had broken down the object I was creating at the start instead of jumping straight in I could've saved valuable time when creating this part of the environment. Once I finished the basic shape I simply used a few simple extrudes and chamfers to create the small protrusions along the main part. Afterwards I added the polys to a smoothing group to create the smoothed look. |
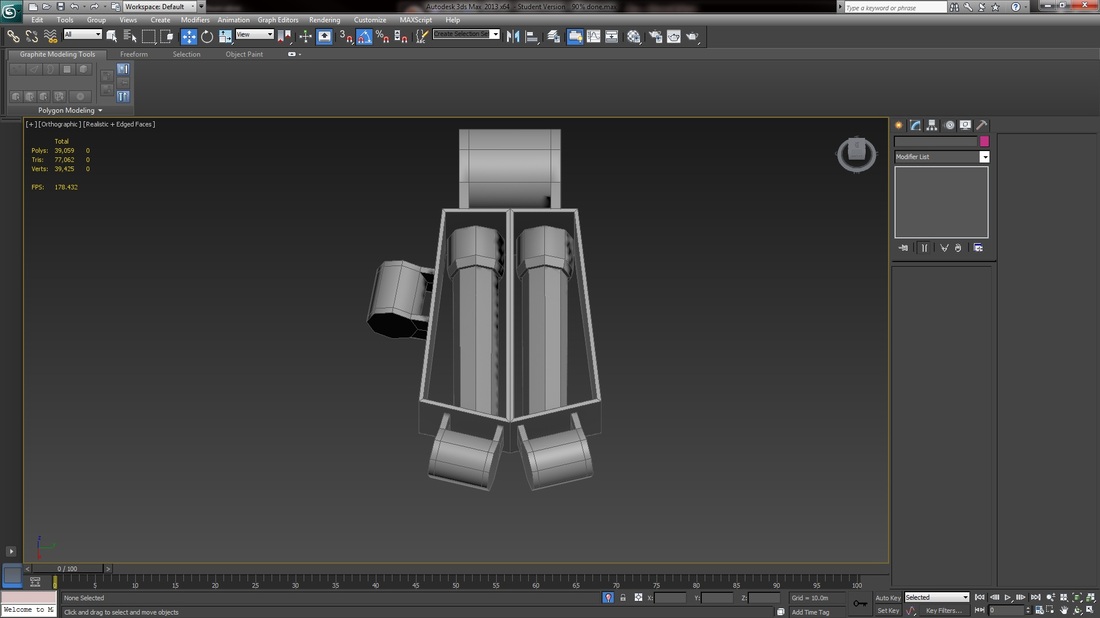
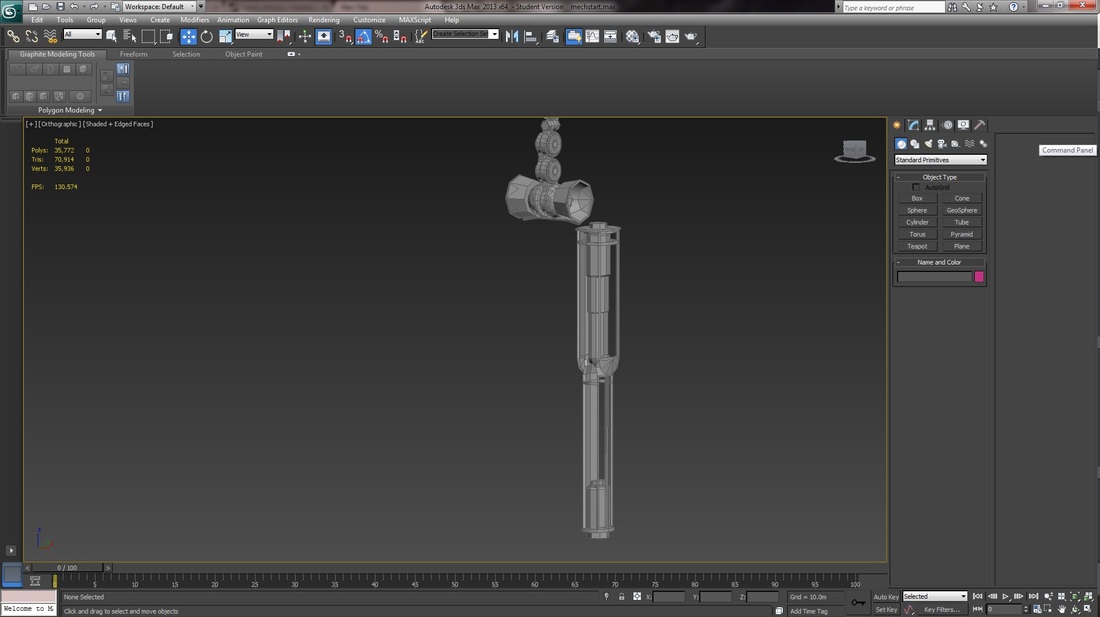
The next part I moved onto was the dome and back face of this part.
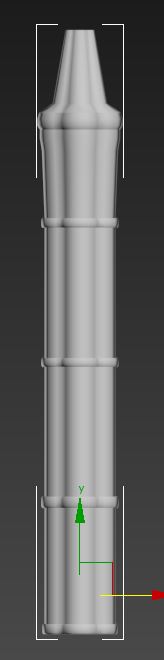
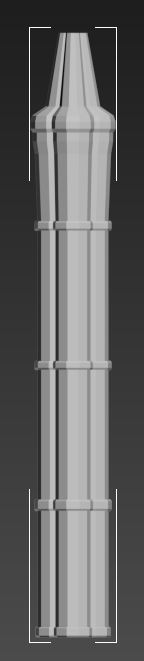
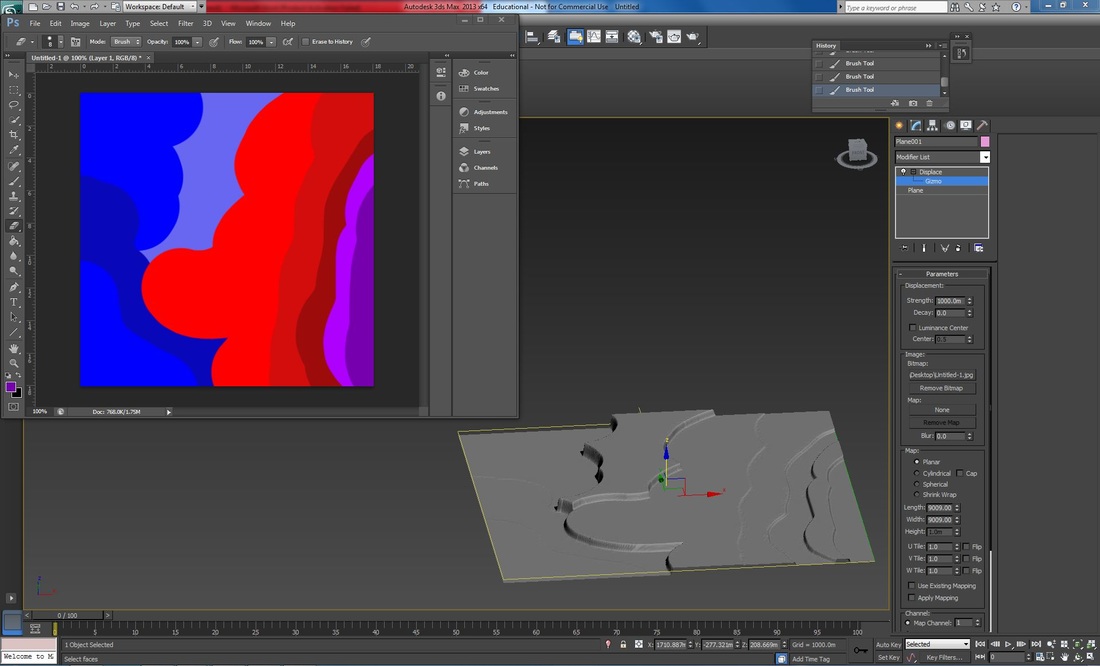
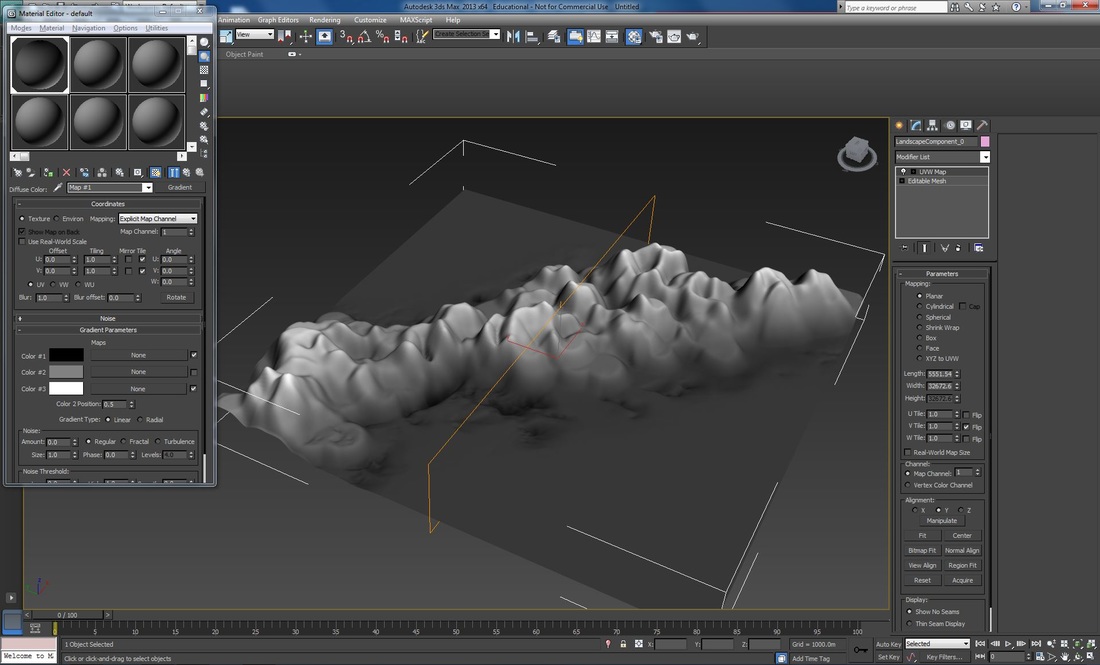
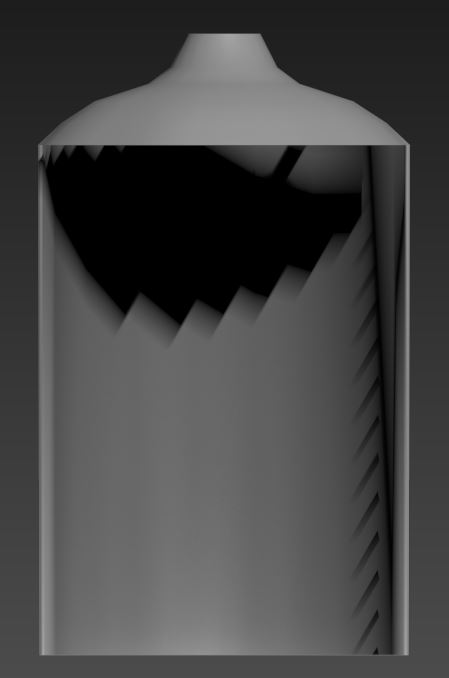 | This was a fairly straight forward part to create. I tried two methods when creating this for testing purposes and trying out a new tool in 3ds max. The first method was to creating a thin cylinder which I would bevel upwards to create the dome. Afterwards I insetted the base slightly to be able to extrude the long back part of the model. The other method I tried was using the array tool (image shown below). When using this tool I create one piece of the domed top part, I roughly created 1/10th of the 360 degree circle, so I was with a piece that is roughly 36 degrees. 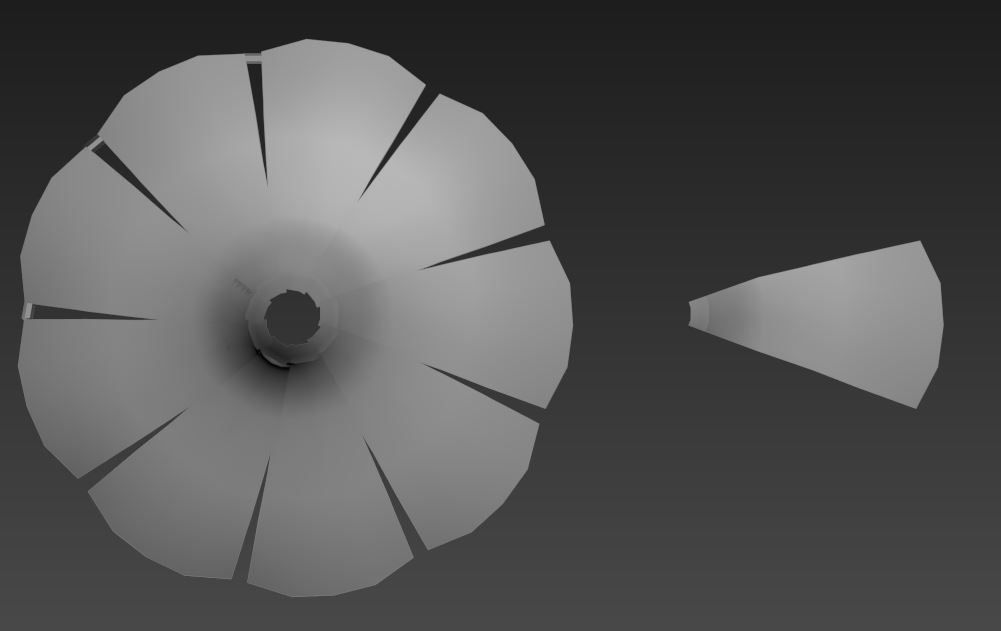 |
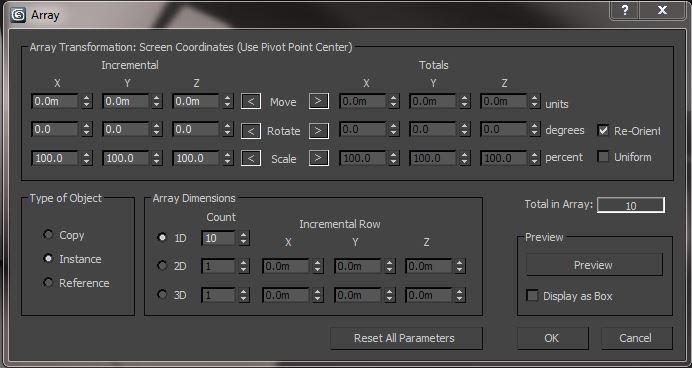
Once I created that piece I opened up the array tool (image below) where I testing some settings before I finally got as close as i could get to creating the dome (shown above). Although I discovered that when using this method the single piece of geometry that I created would need to perfect or else I would have gaps in the dome. I feel that this isn't the correct tool for creating something as basic as a dome and is more suited to create something more complex such as asteroid belts etc. where multiple different meshes could be arrayed to create a ring.
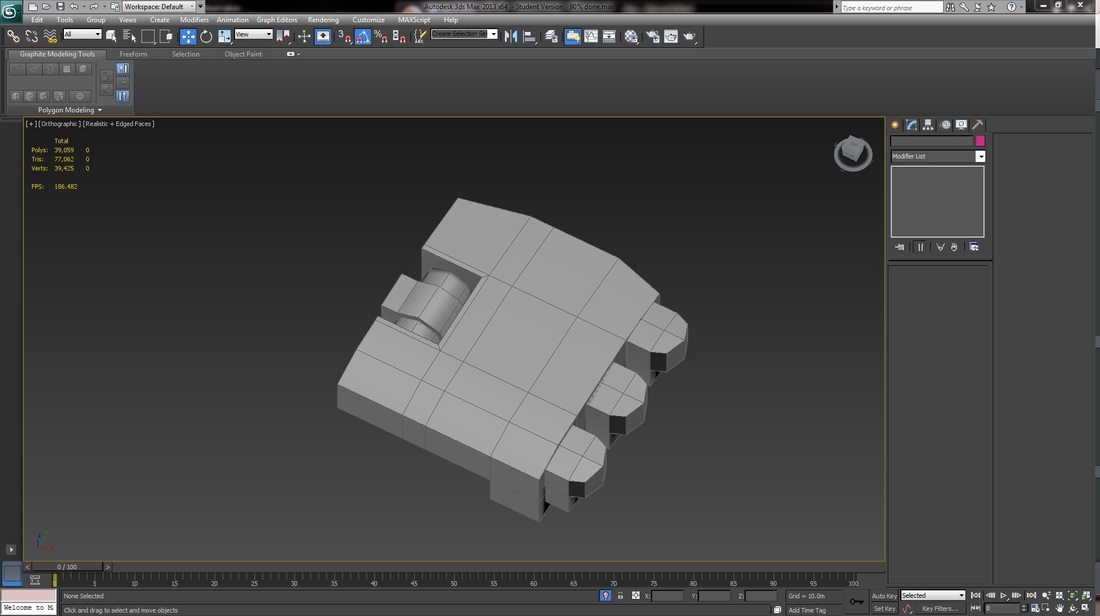
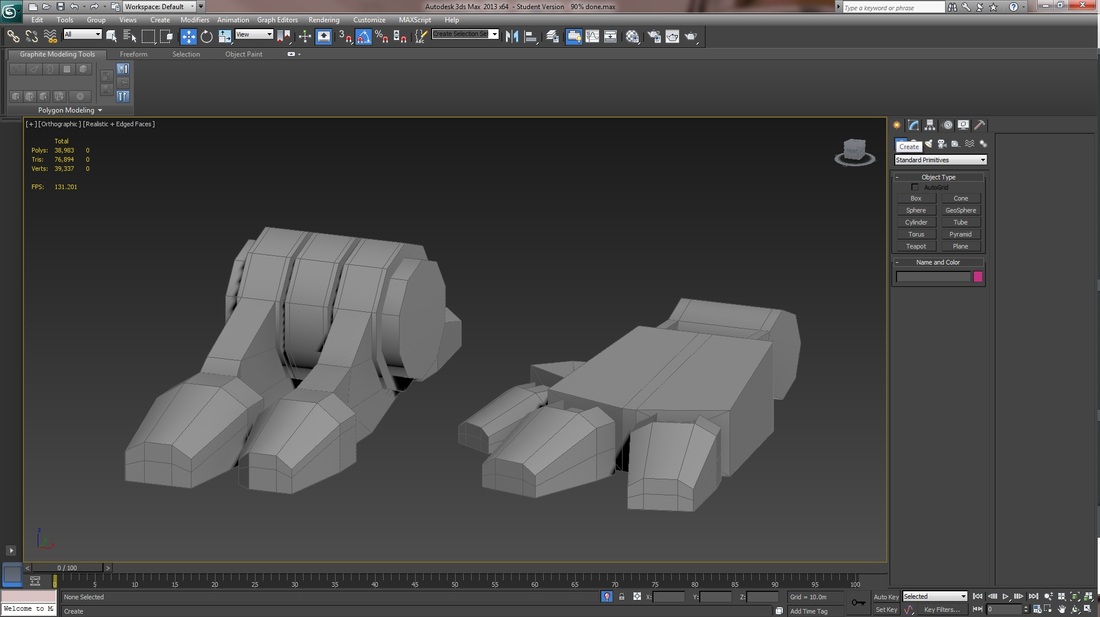
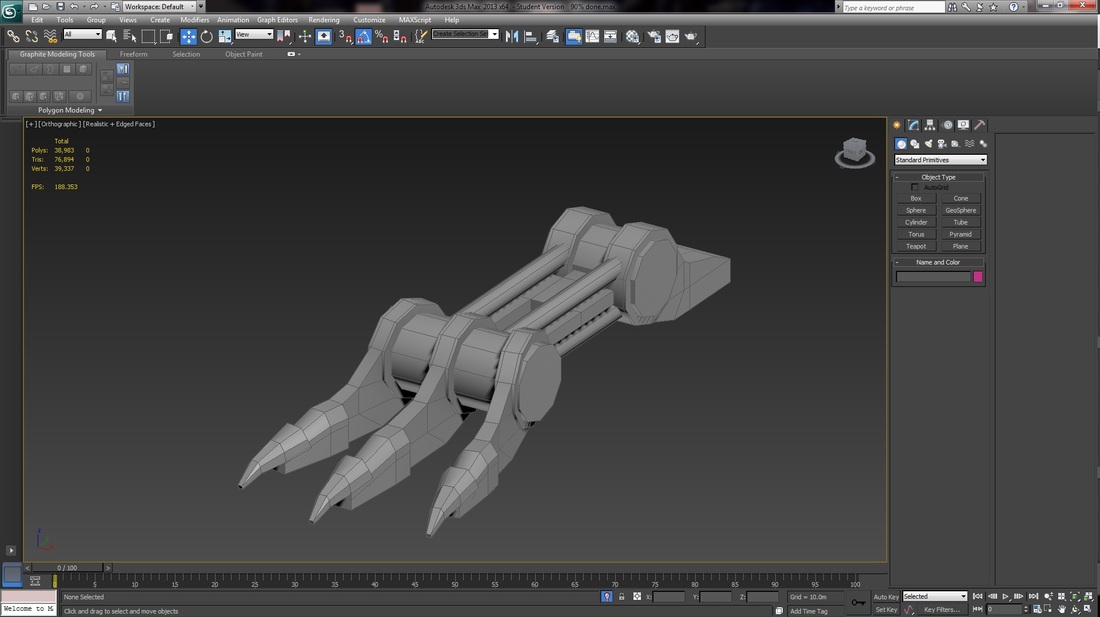
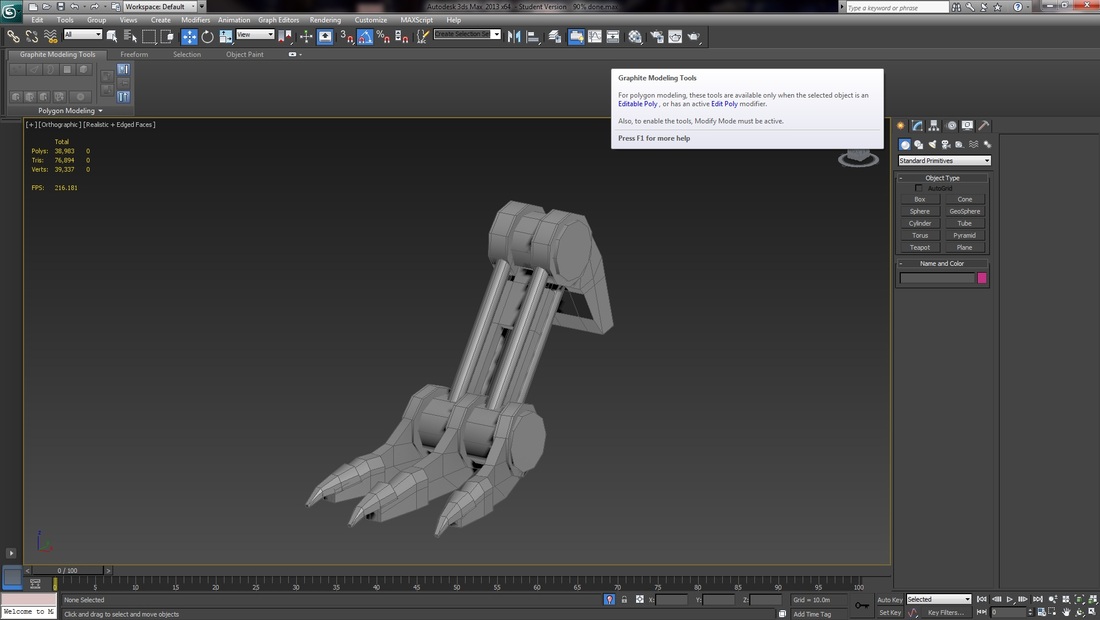
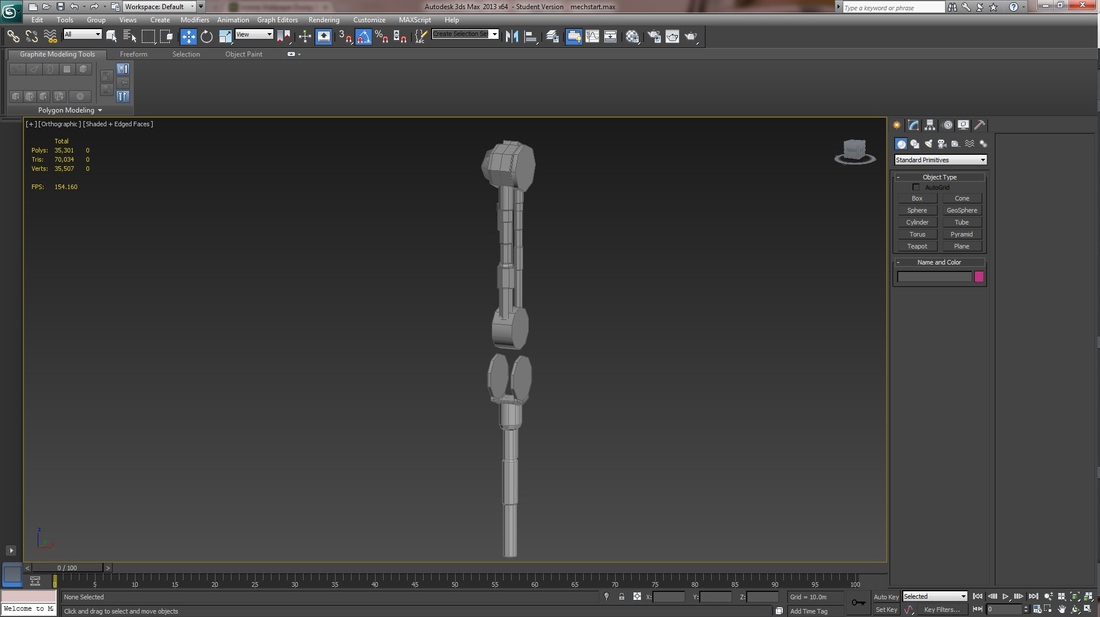
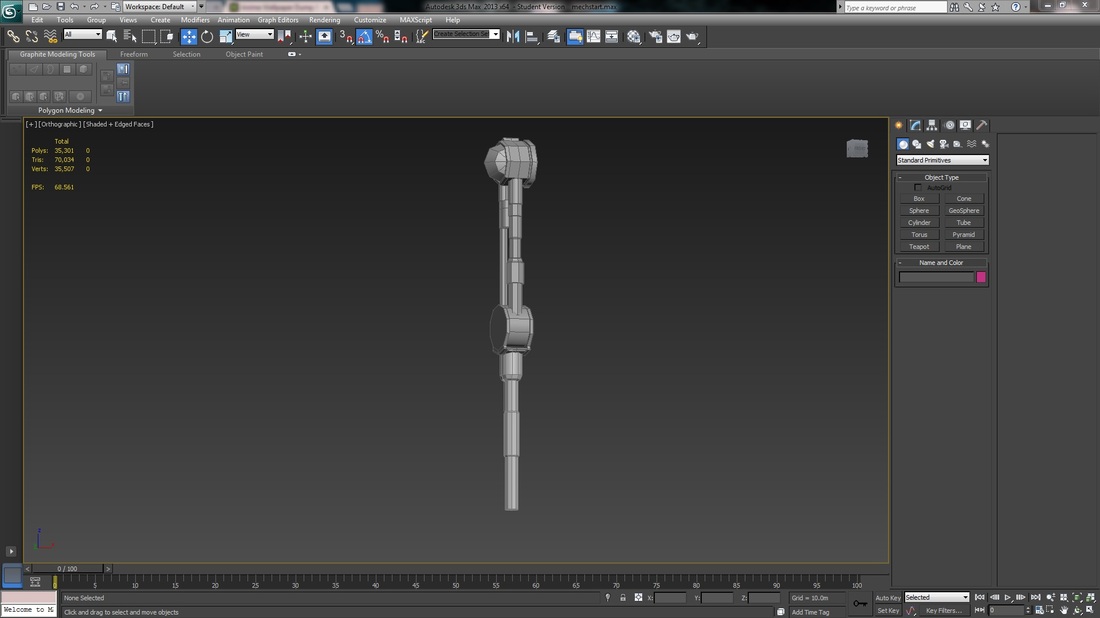
The final part was very straightforward to create, utilizing simple tools such as extrude and inset.
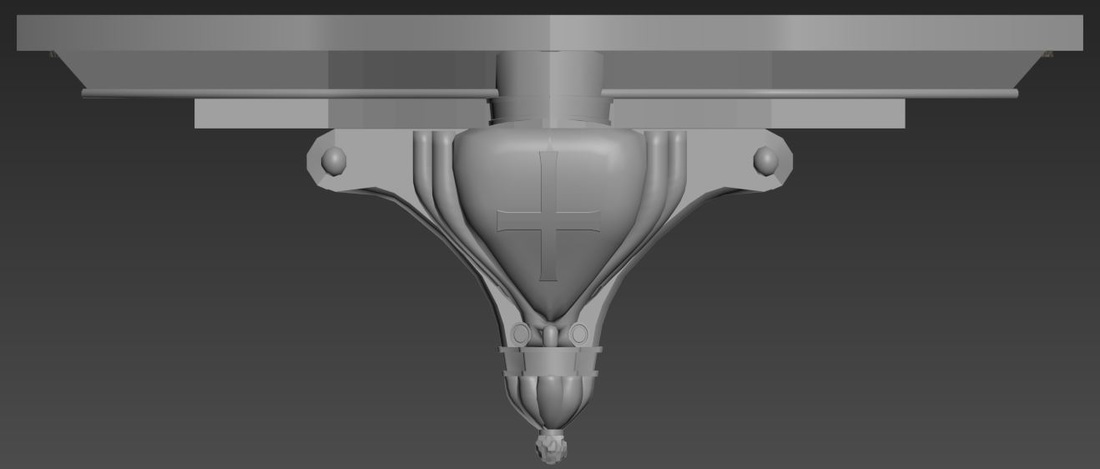
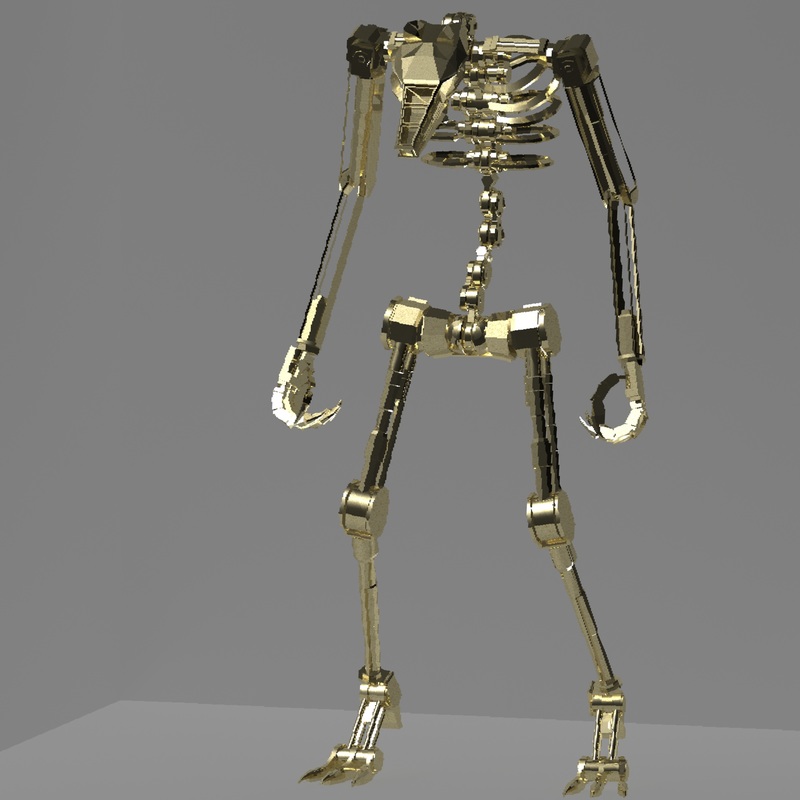
Once I completed all the parts, I brough them together to create the final piece ready to placed onto the building.

 RSS Feed
