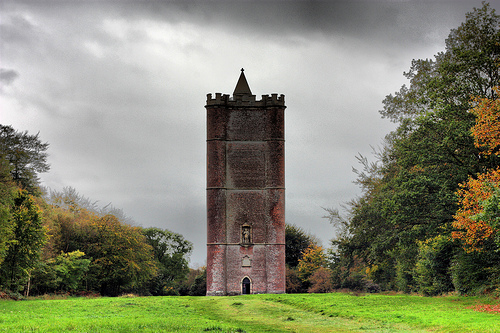
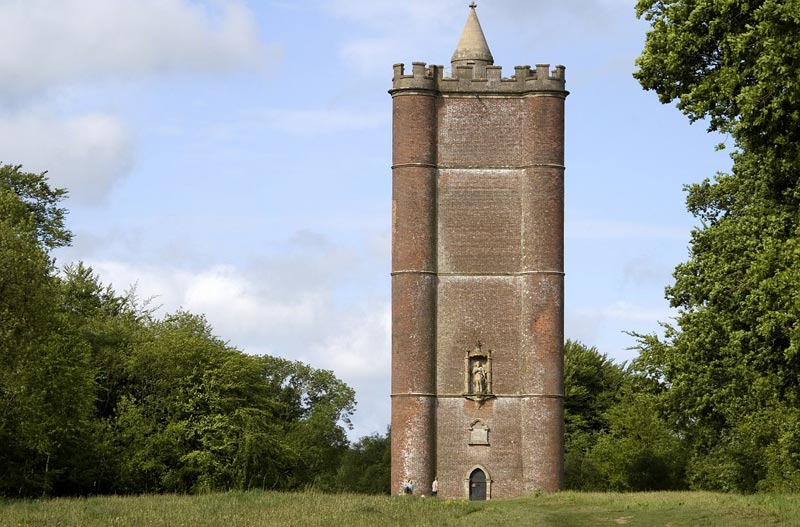
Once I finished the last part it was time to move onto creating the main tower. As I approximated in the starting the post the entire tower is 49 metres tall with the main body being 40m tall and 10 wide not including the towers. Before I started modelling this building I gathered a few reference images, due to this building being located in Surrey it wasn't really feasible to collect primary research. Instead I used reference images from Google and http://www.alfredstower.info/.
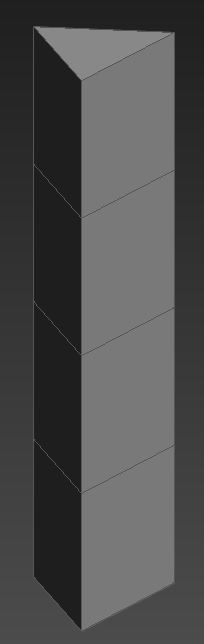 | Due to the basic shape of the tower I simply made a box to the right dimensions and welded the back vertices to create the correct shape. To accurately create the small protrusions at the 10m, 20m and 30m I use the "connect" tool which will create a new edge loop in the middle of the selected edges. Using this tool I would half the original 40m and then repeat to create edge loops at the correct height. The image on the left shows you the result of what I did. At this point I didn't really ask for any feedback as I felt that it was way too early and there is very little for my peers to judge. |
 | The next step I did was deciding how to add the towers to each corner of the main part. The first method I tried was to chamfer the corners and placing cylinders there. This method created a very sharp curve from where the cylinder meets the main body, something that is not seen in reality. Although currently the cylinders have hard edges it could easily be fixed by adding a smoothing group. This allows me to keep the polycount lower by limiting the number the polys in these cylinders. This was also reflected in some peer feedback I received which confirmed that this looks different to the real structure. So instead of proceeding with this, I decided to backtrack and try to create a version more akin to its real life counterpart. |
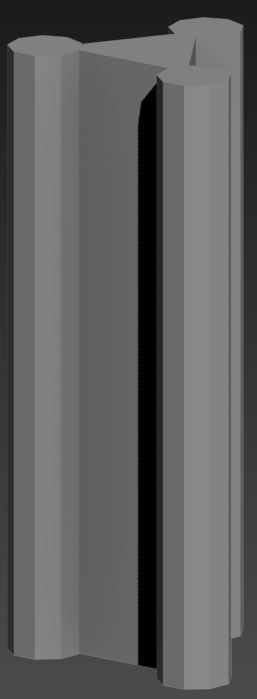
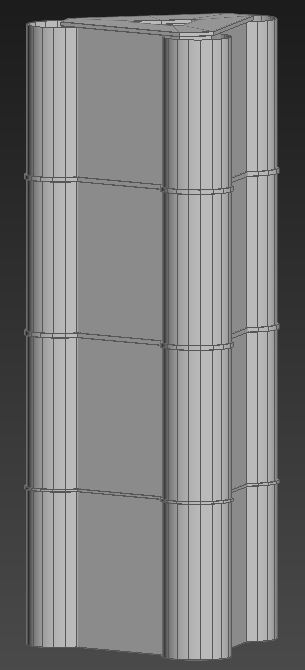 | This was my second attempt at creating the cylinder pieces of the tower. For this attempt instead of placing the cylinders flush with the chamfered parts of the tower I placed it slightly further in overlapping the geometry. This created a shape much more akin to the real structure. Similar to the main body I used the "connect" tool to create the same edge loops at 10m intervals. To create the small protrusions, I chamfered all of the edge loops I created and extruded them. Once this took a shape comparable to the real structure I deleted the overlapping geometry to lower the polycount slightly and potentially avoid any issues further down the line. At this point I asked some of my peers to how they felt the building was shaping up. The majority was positive as they was a vast improvement over my first attempt at creating this shape. |
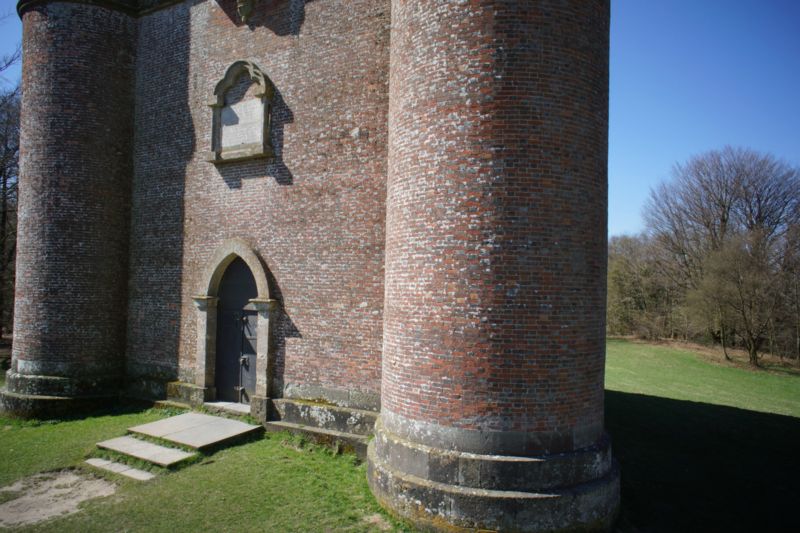
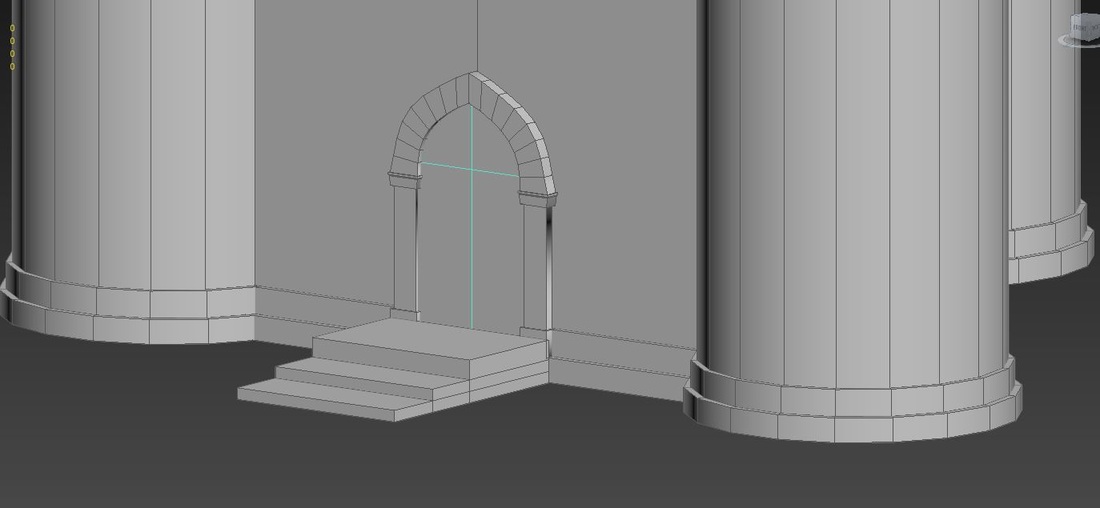
After I finished the main towers shape I moved onto detailing the tower from bottom up. I started with the small extruded foundations and the door. These were really simple to create as the foundations could be created by extruding the base. The door on the other hand I created using a different object so that when it comes to texturing it would prove to be easier.
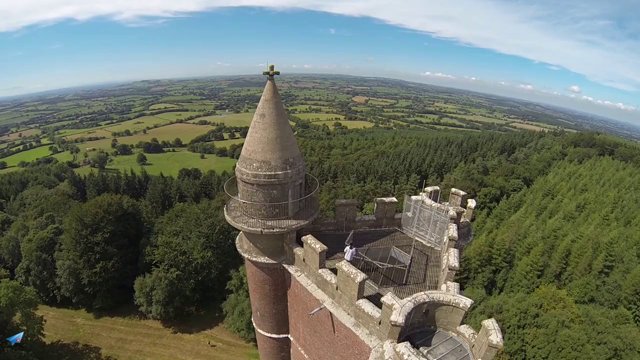
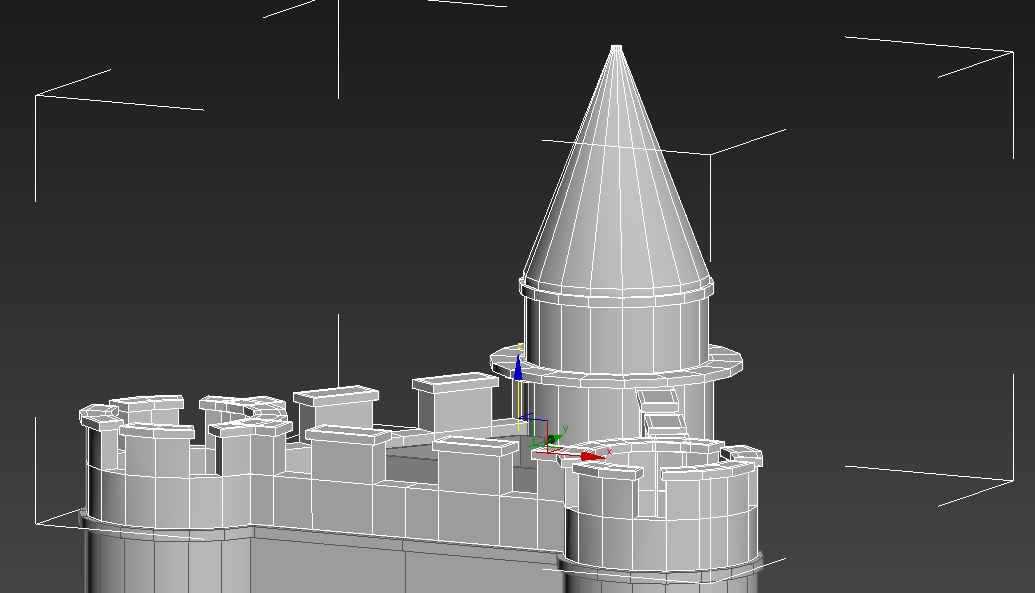
The final part of the building was battlements and tower and the top. For this part of the tower I tried two different methods, the end product was the same although the method I chose would make texturing easier later down in production.
The first method I tried was to simply build it out of the top of the current mesh. Although doing it this method would require a UV unwrap or a multi-sub material (which can't be transferred to maya). To rectify this I detached the top faces of the object before creating the battlements and the tower. This effectively creates another object at for the top of the tower. A chose to do it this method as due to my poor time management, needing to UV unwrap and texture the building by hand would require too much time. Although if ever intend to import this model into a game engine a correct uv unwrap would be necessary for textures to show correctl.
The first method I tried was to simply build it out of the top of the current mesh. Although doing it this method would require a UV unwrap or a multi-sub material (which can't be transferred to maya). To rectify this I detached the top faces of the object before creating the battlements and the tower. This effectively creates another object at for the top of the tower. A chose to do it this method as due to my poor time management, needing to UV unwrap and texture the building by hand would require too much time. Although if ever intend to import this model into a game engine a correct uv unwrap would be necessary for textures to show correctl.
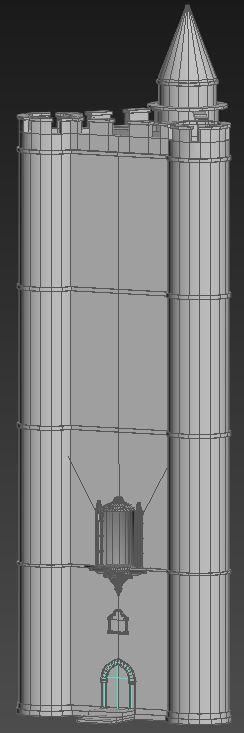 | This is the final building after I complied all the parts together. At this point I decided that the statue had to be cut from the building due to various reasons. Firstly was due to time constraints, with the deadline looming I needed to speed up production to catch up with my project plan. The second reason is the statues screen time during my trailer would be minimal. Although I am currently behind according to my project plan I completed this model faster than the time I had planned for allowing me to regain some lost time. This is most likely due to me omitting the statue from the model. |
 RSS Feed
